Because I needed lots of buttons, and the LilyGo TTGO T8 module is somewhat limited in the numbers of IO-pins
(as every ESP32 module), I decided what everybody would do in my situation.
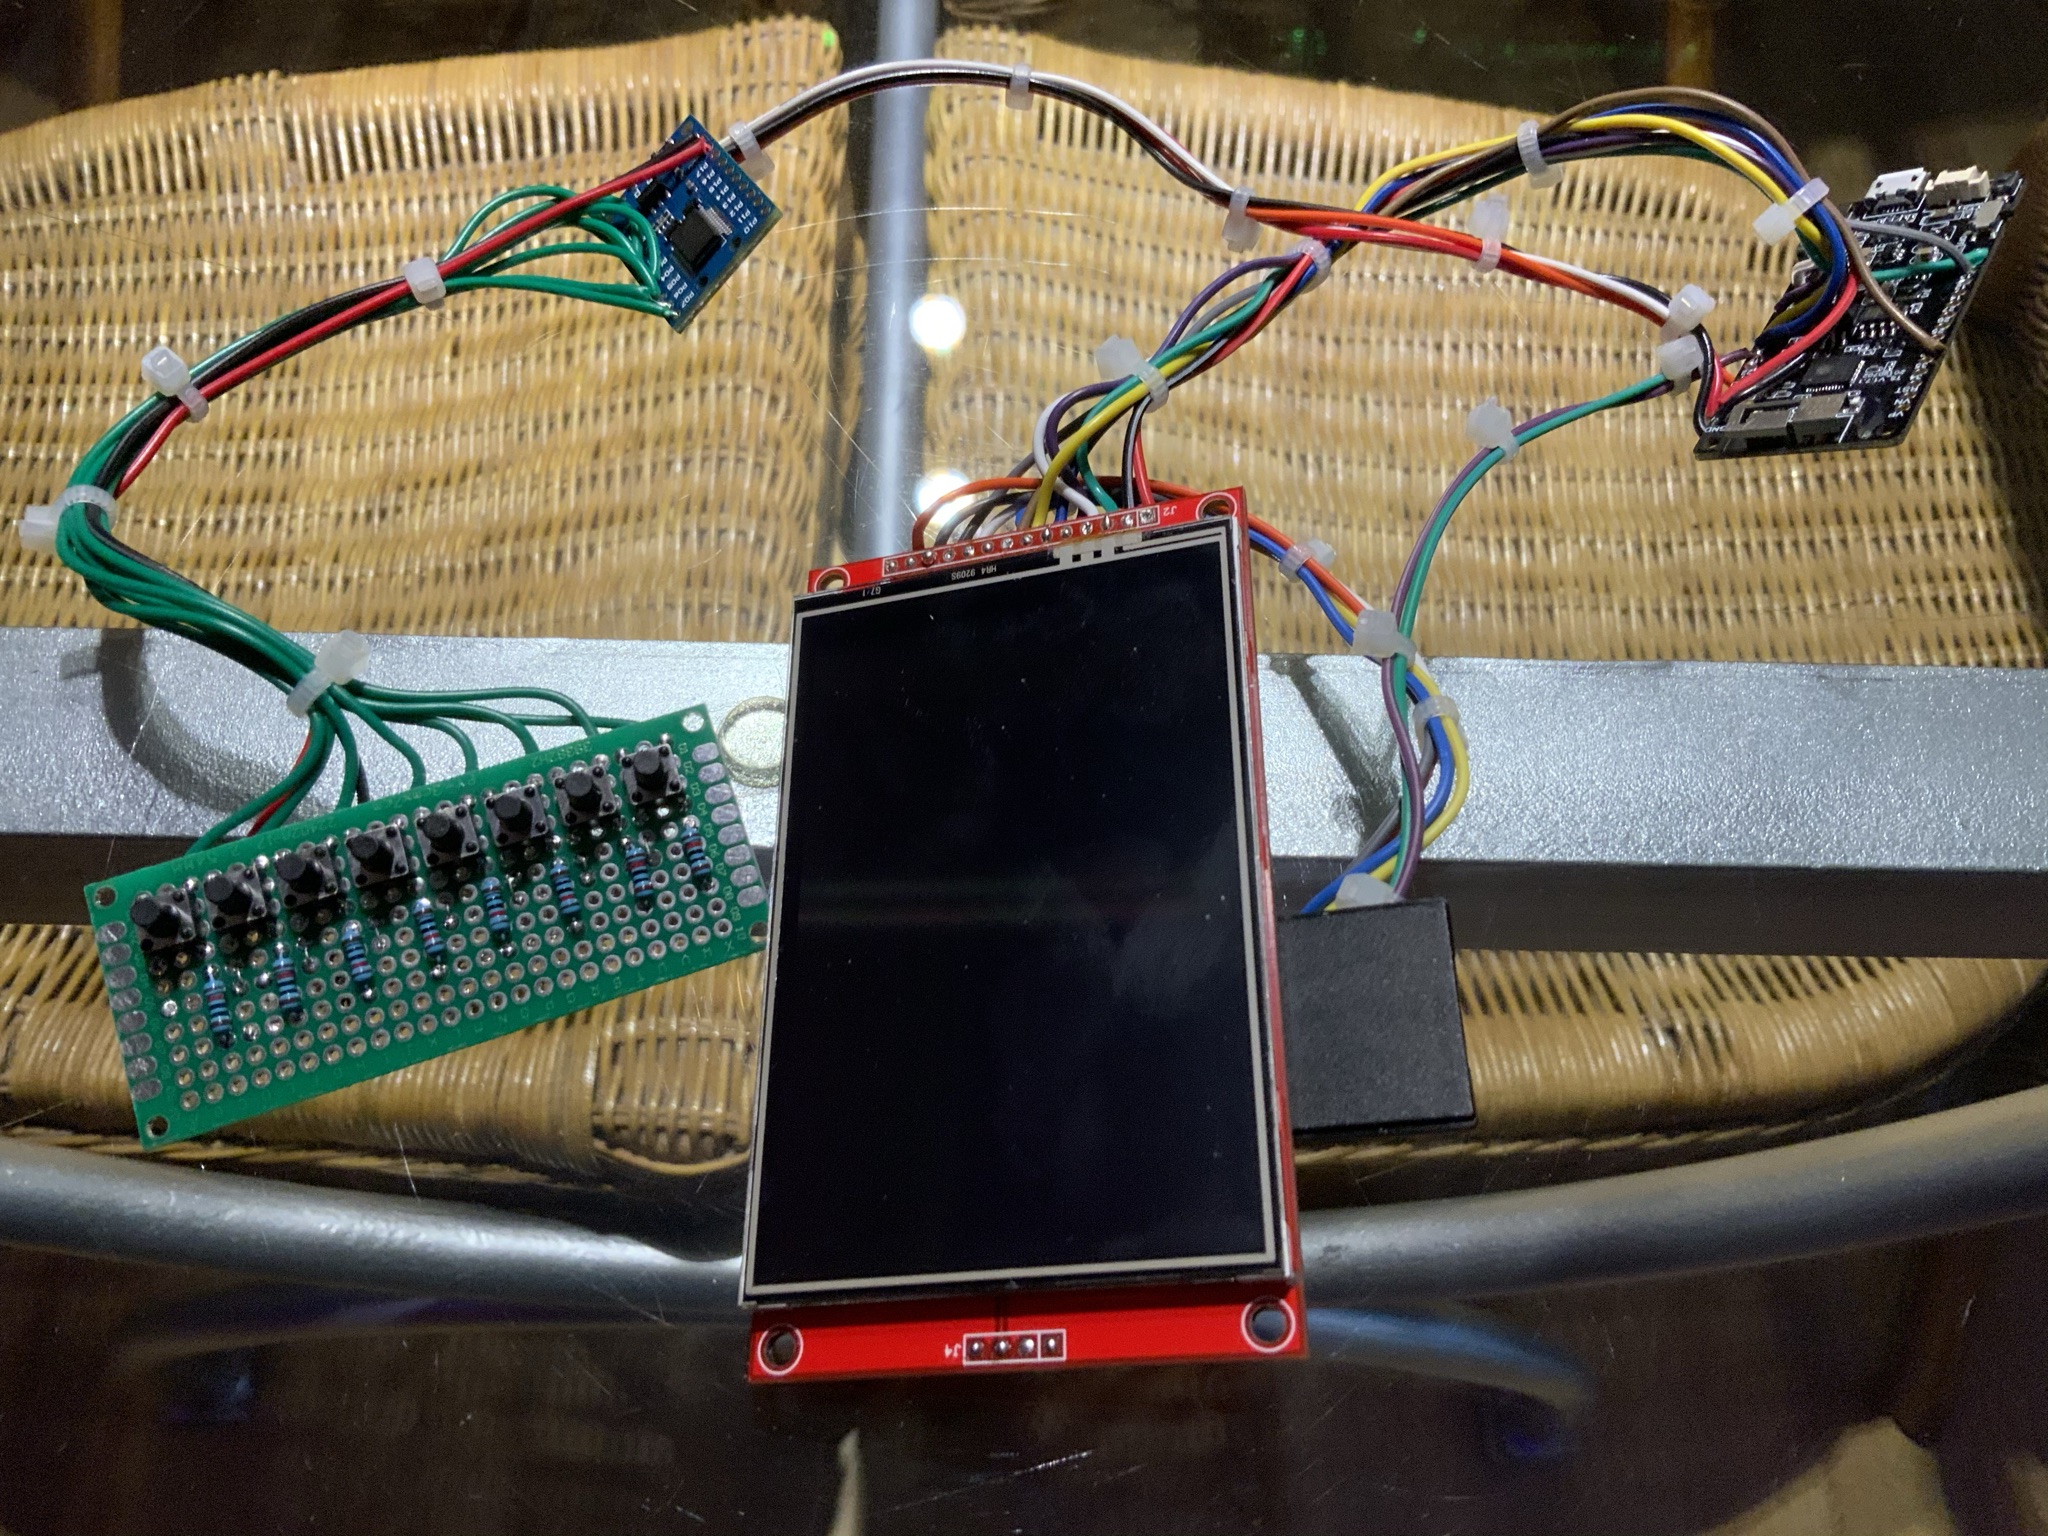
I added some PCF8575 (16-bit) and PCF8574 (8-bit) I2C IO-expanders.
Via only 2 IO-ports (hence the name, IC2), I’m able to connect as much buttons as I need. I need 16 buttons on the left,
and 16 on the right, so 2 PCF8575 modules will do. I also need 6 buttons on the button (+2 hidden buttons), so a PCF8574 will do.
They all connect to the same IO-pins 🙂
So, I now have the LilyGo TTGO T8, 2x PCF8575, 1x PCF8574, the ILI9488 (that is not only a touchscreen,
but also includes a SD-card reader on the back)
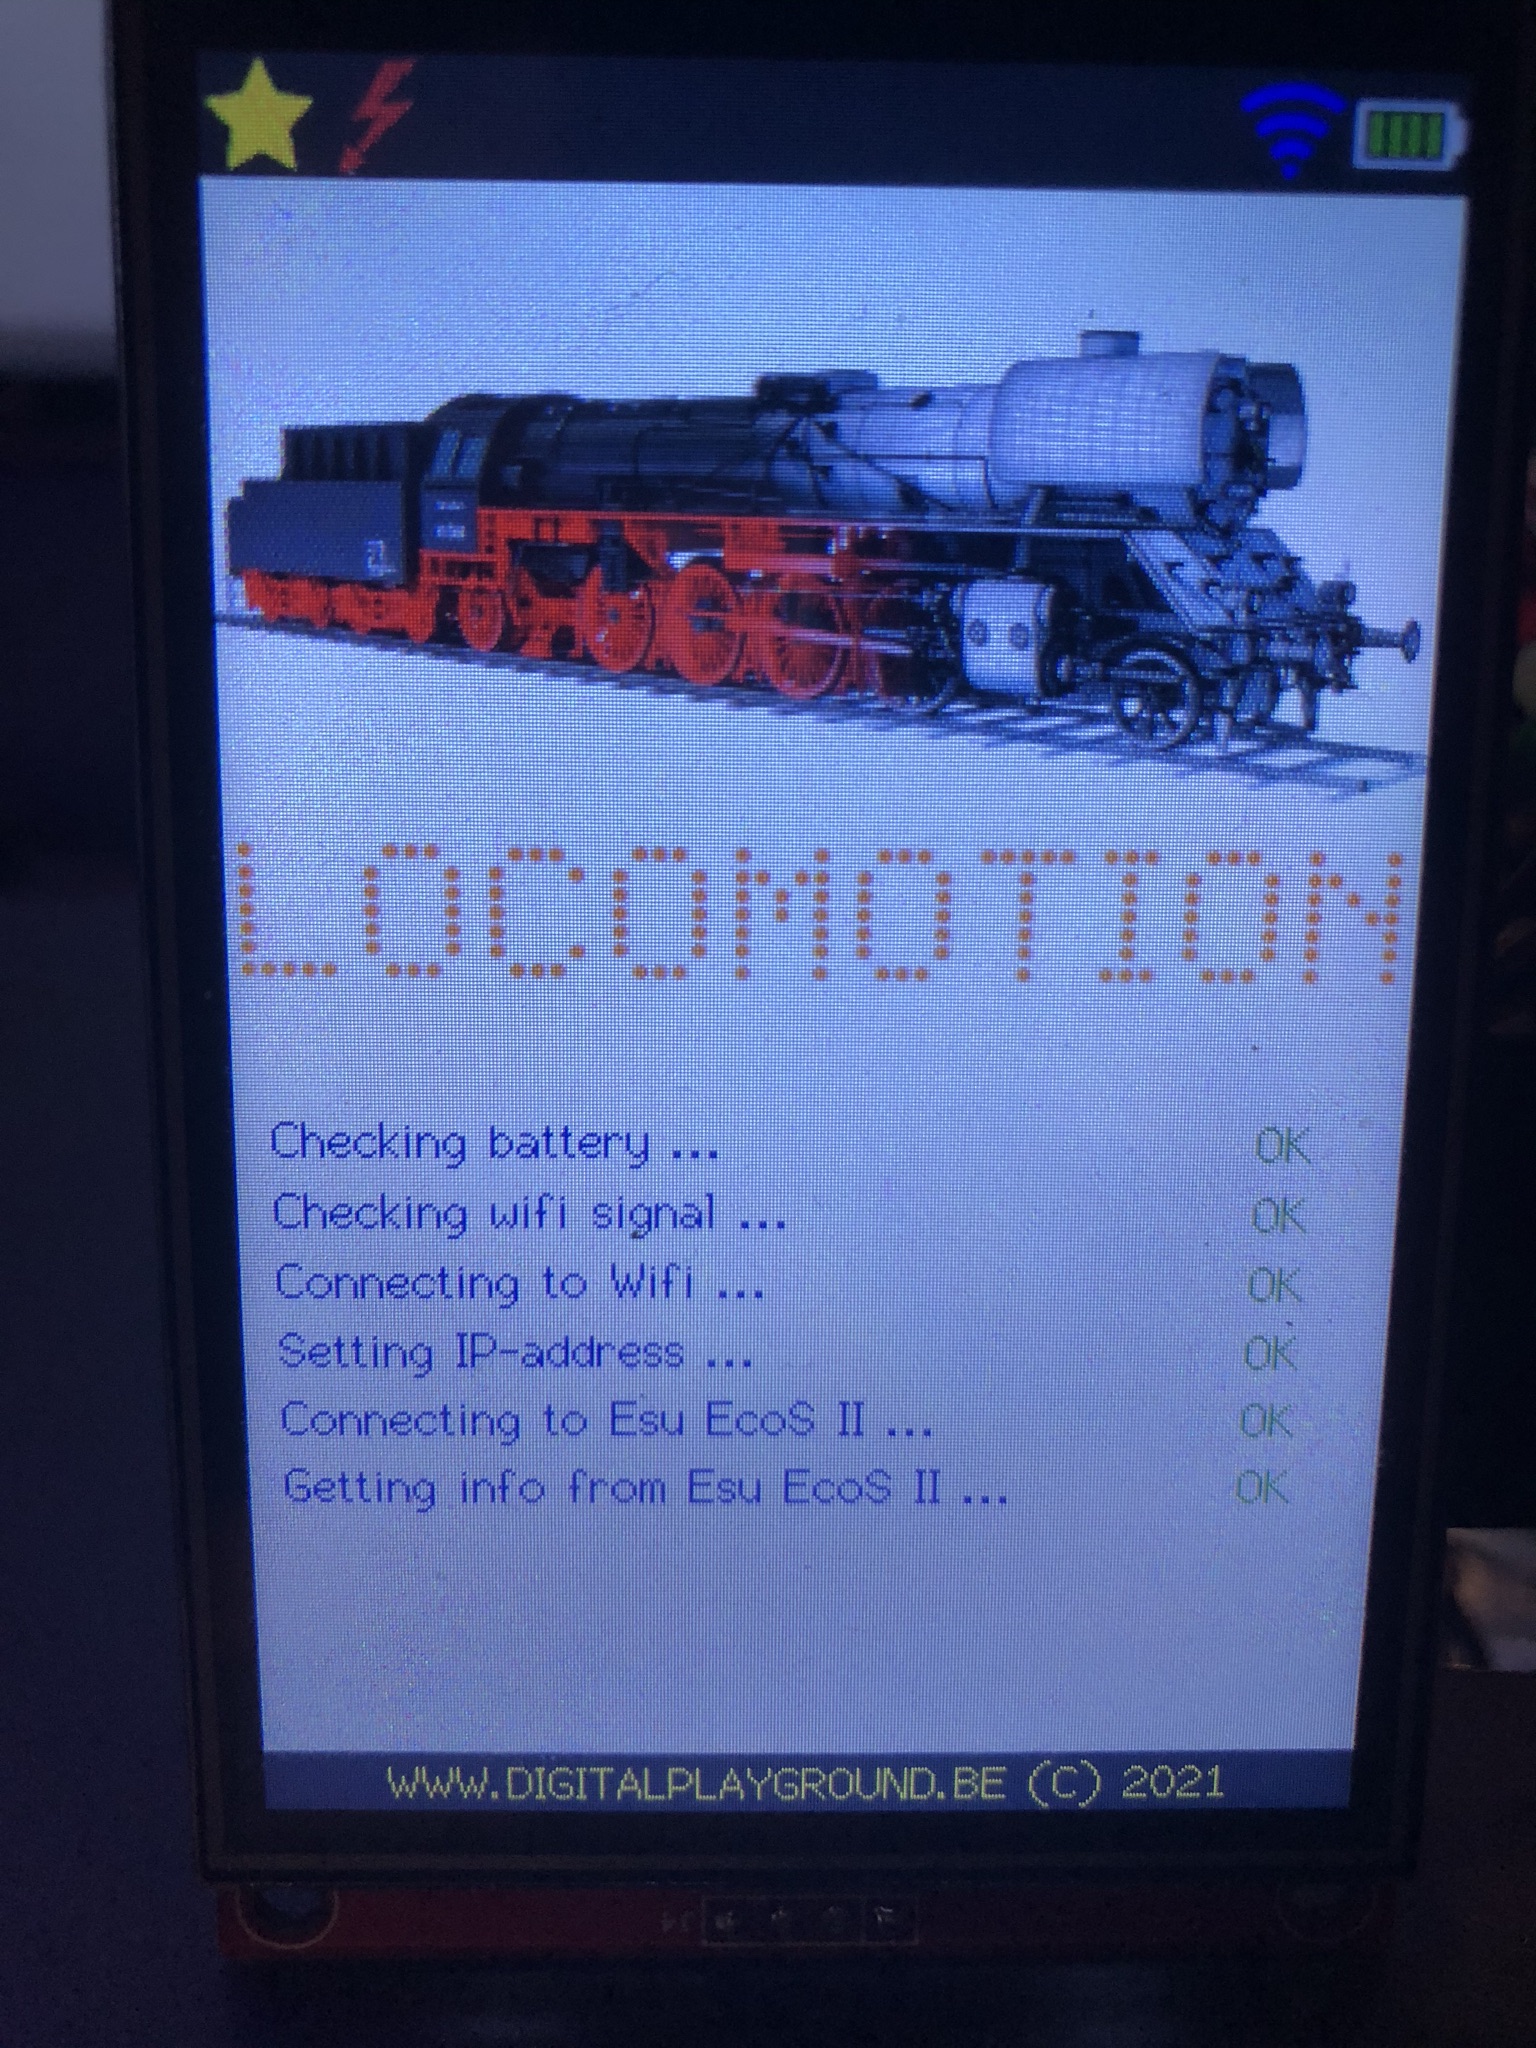
Furthermore, the first screen of the application is (almost) complete.
This first screen, does some checks (battery/wifi/connection with EcoS), before the application actually start.
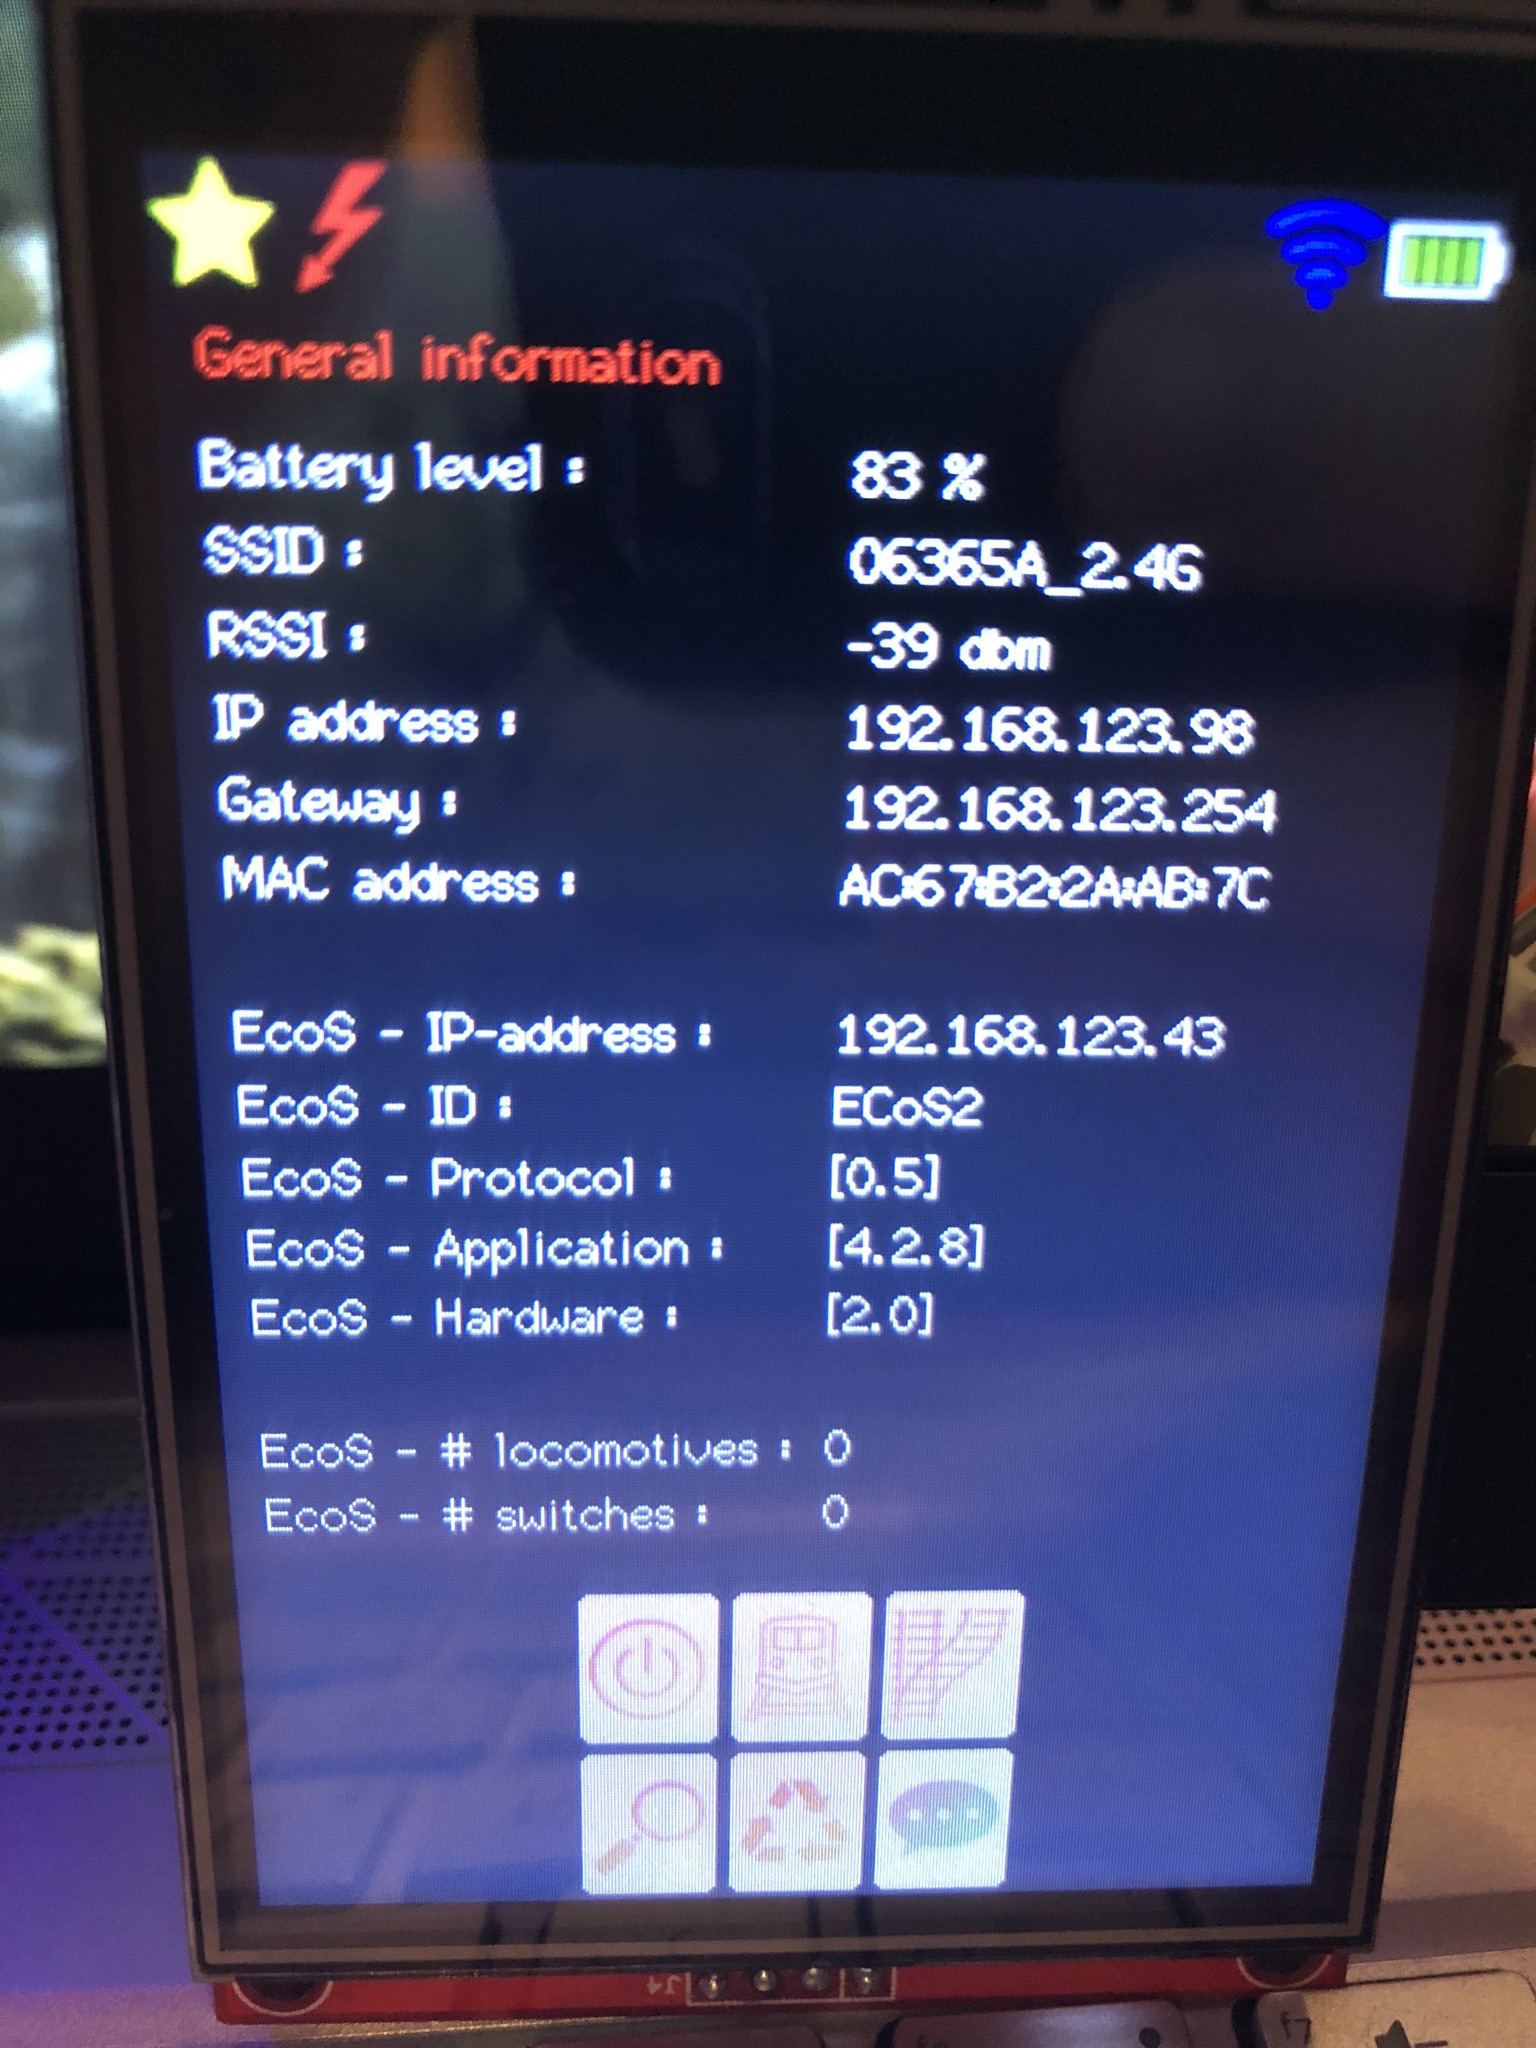
Also, the “General info” screen is completed (for now).
You can also see 6 icons at the bottom, middle. This is the main menu.
from left to right, (top to bottom row):
– EcoS Stop/Go
– Train control
– Switches control
– S88 live preview
– Sync loco-images
– General info screen
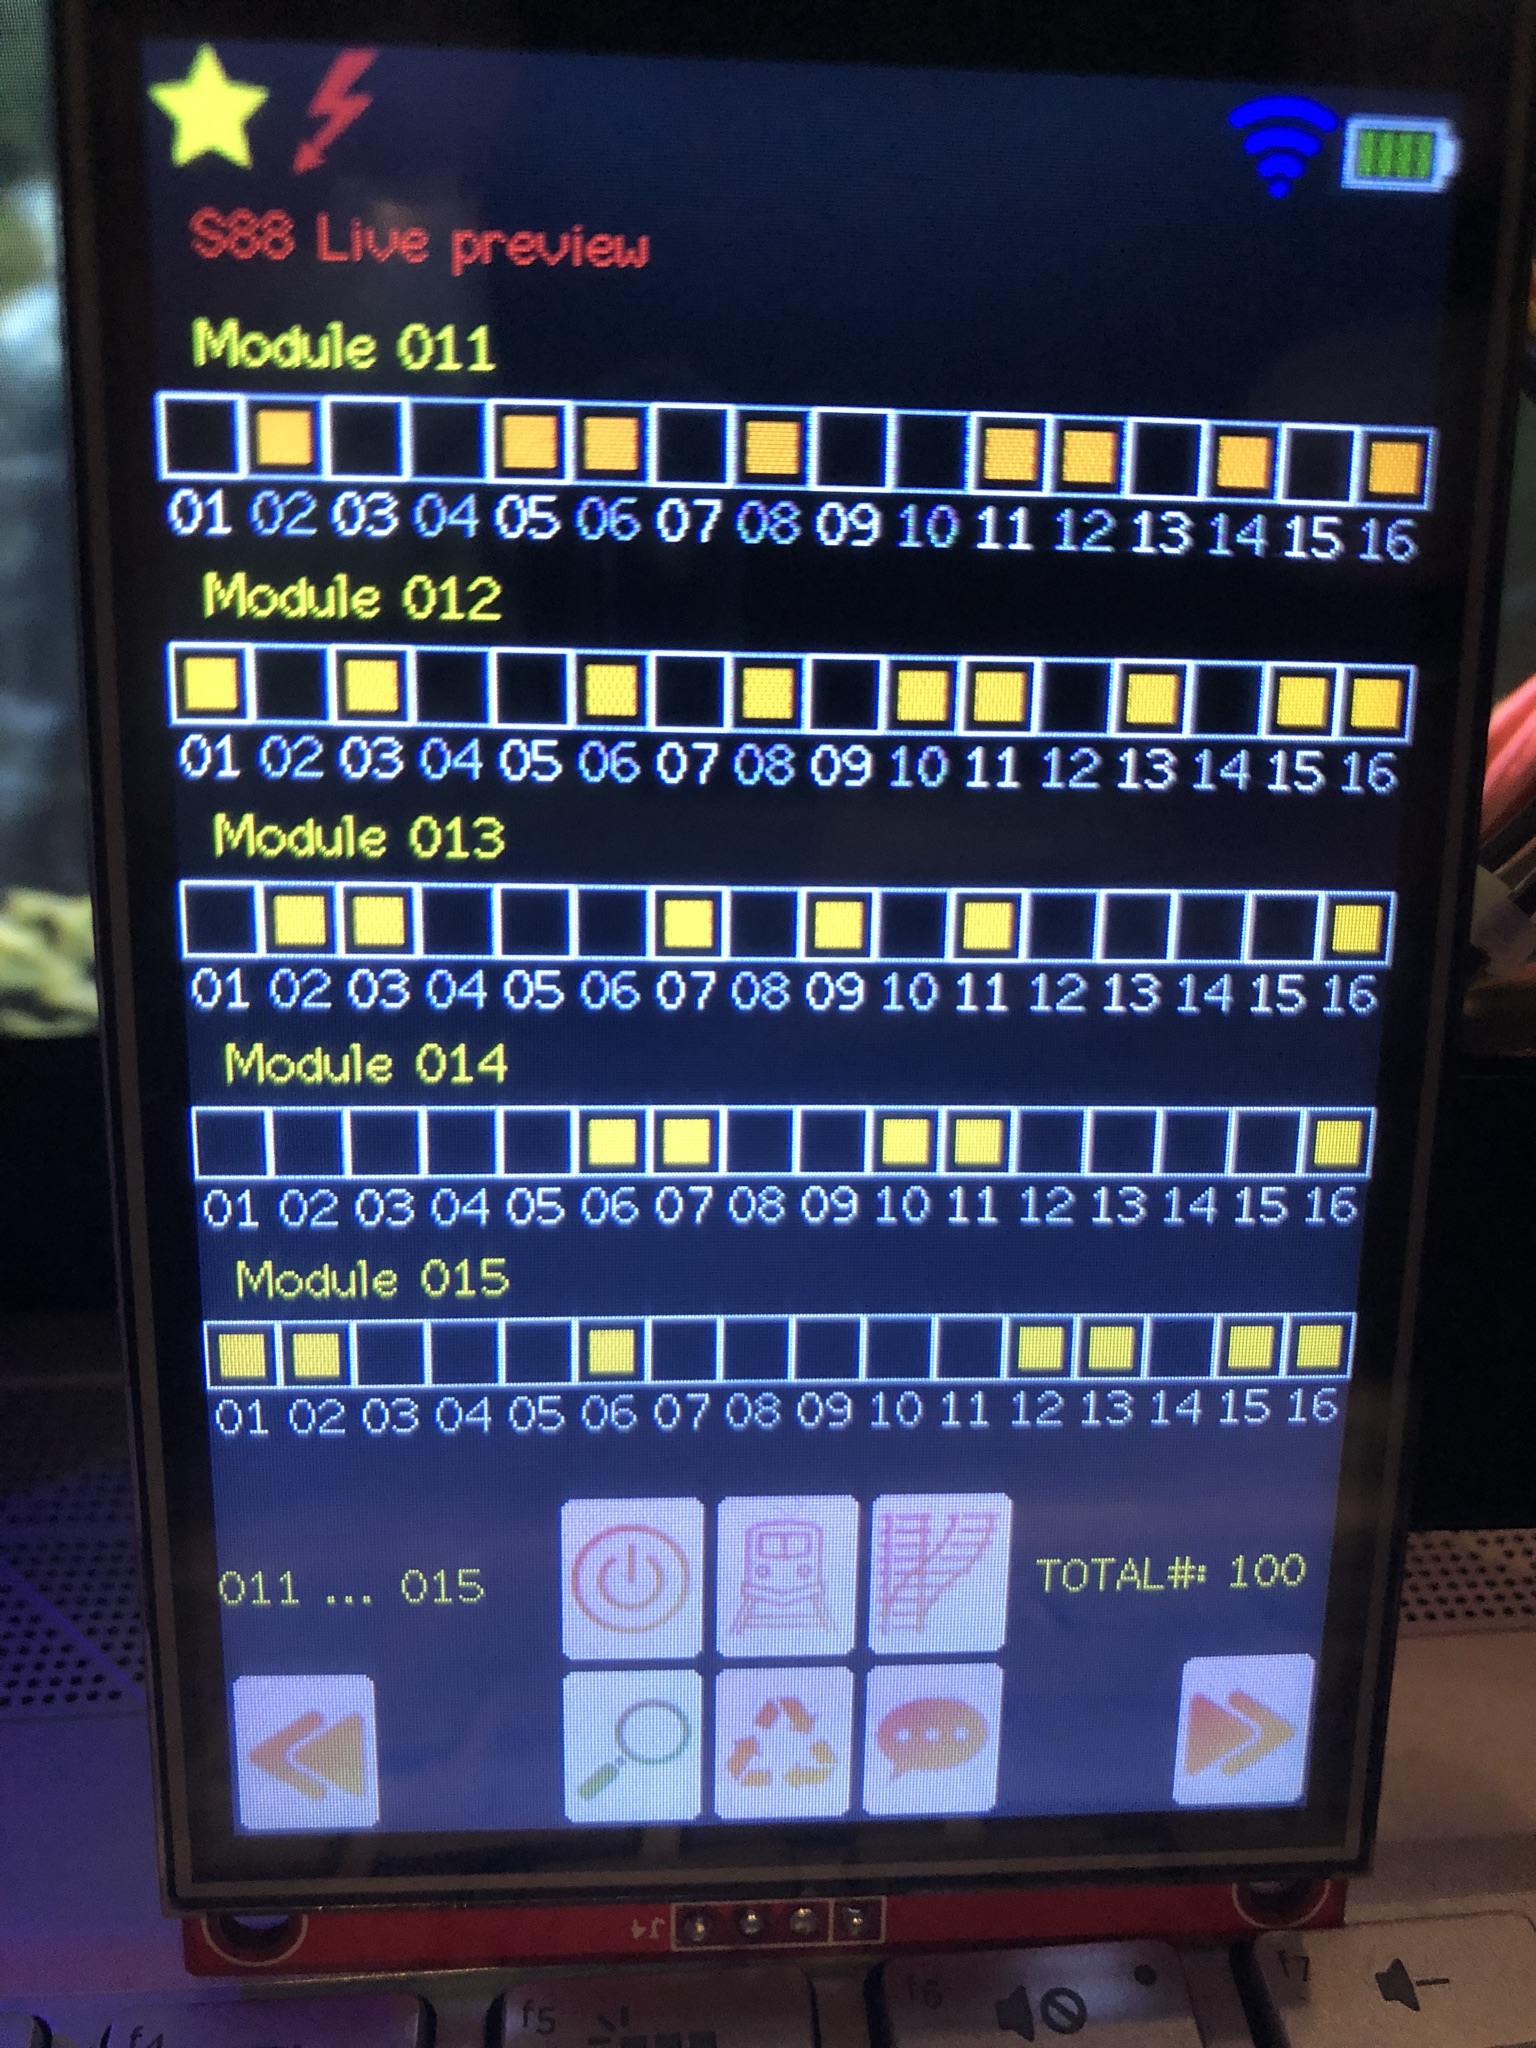
Next, the “S88 live preview” is also up-and-running.
(Boxes do light up orange, when an occupancy sensor is triggered)
And finally (for today at least), the beginning of the locomotive control.
I’m already able to get all functions from a locomotive, and the assigned icons for these functions.
The “bright” icons are functions that are active, while the darker ones, are non-active functions.
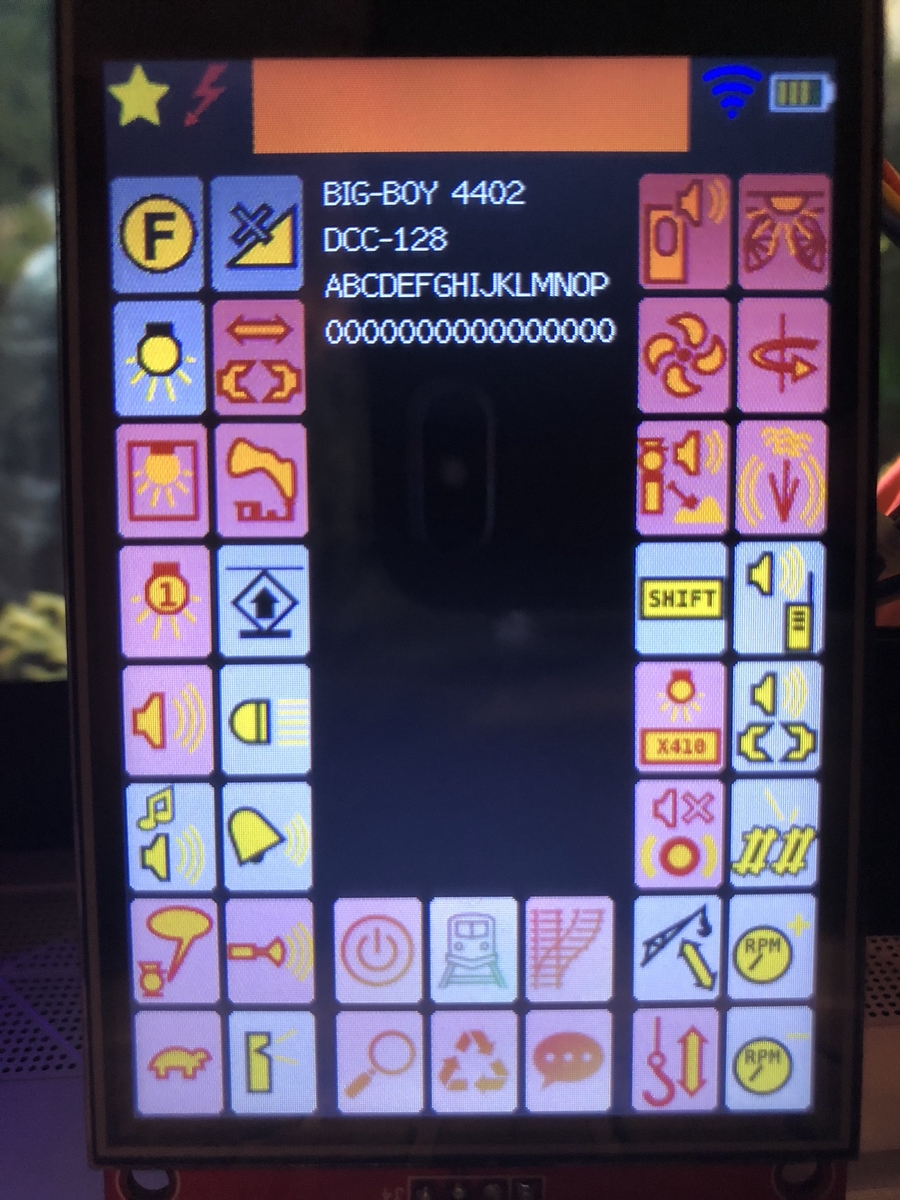
More details about all this functionality, when I’m able to get better screenshots …