Next year, I turn 50. I think I’m having my mid-life crisis !
Some people buy a Ferrari or a Harley Davidson, I’m becoming nostalgic about the computer I owned in my childhood … A Commodore 128D !
At school, I followed computer-classes, where I learned Turbo Pascal 3.0 (on an Intel-based computer)
My C128D does have a Z80 integrated, so I could run CP/M, with Turbo Pascal 🙂
Feeling nostalgic about this, I searched for a way, to run CP/M again. I did find a Z80 kit at the eighties website , this is a Dutch company that sells DYI kits.
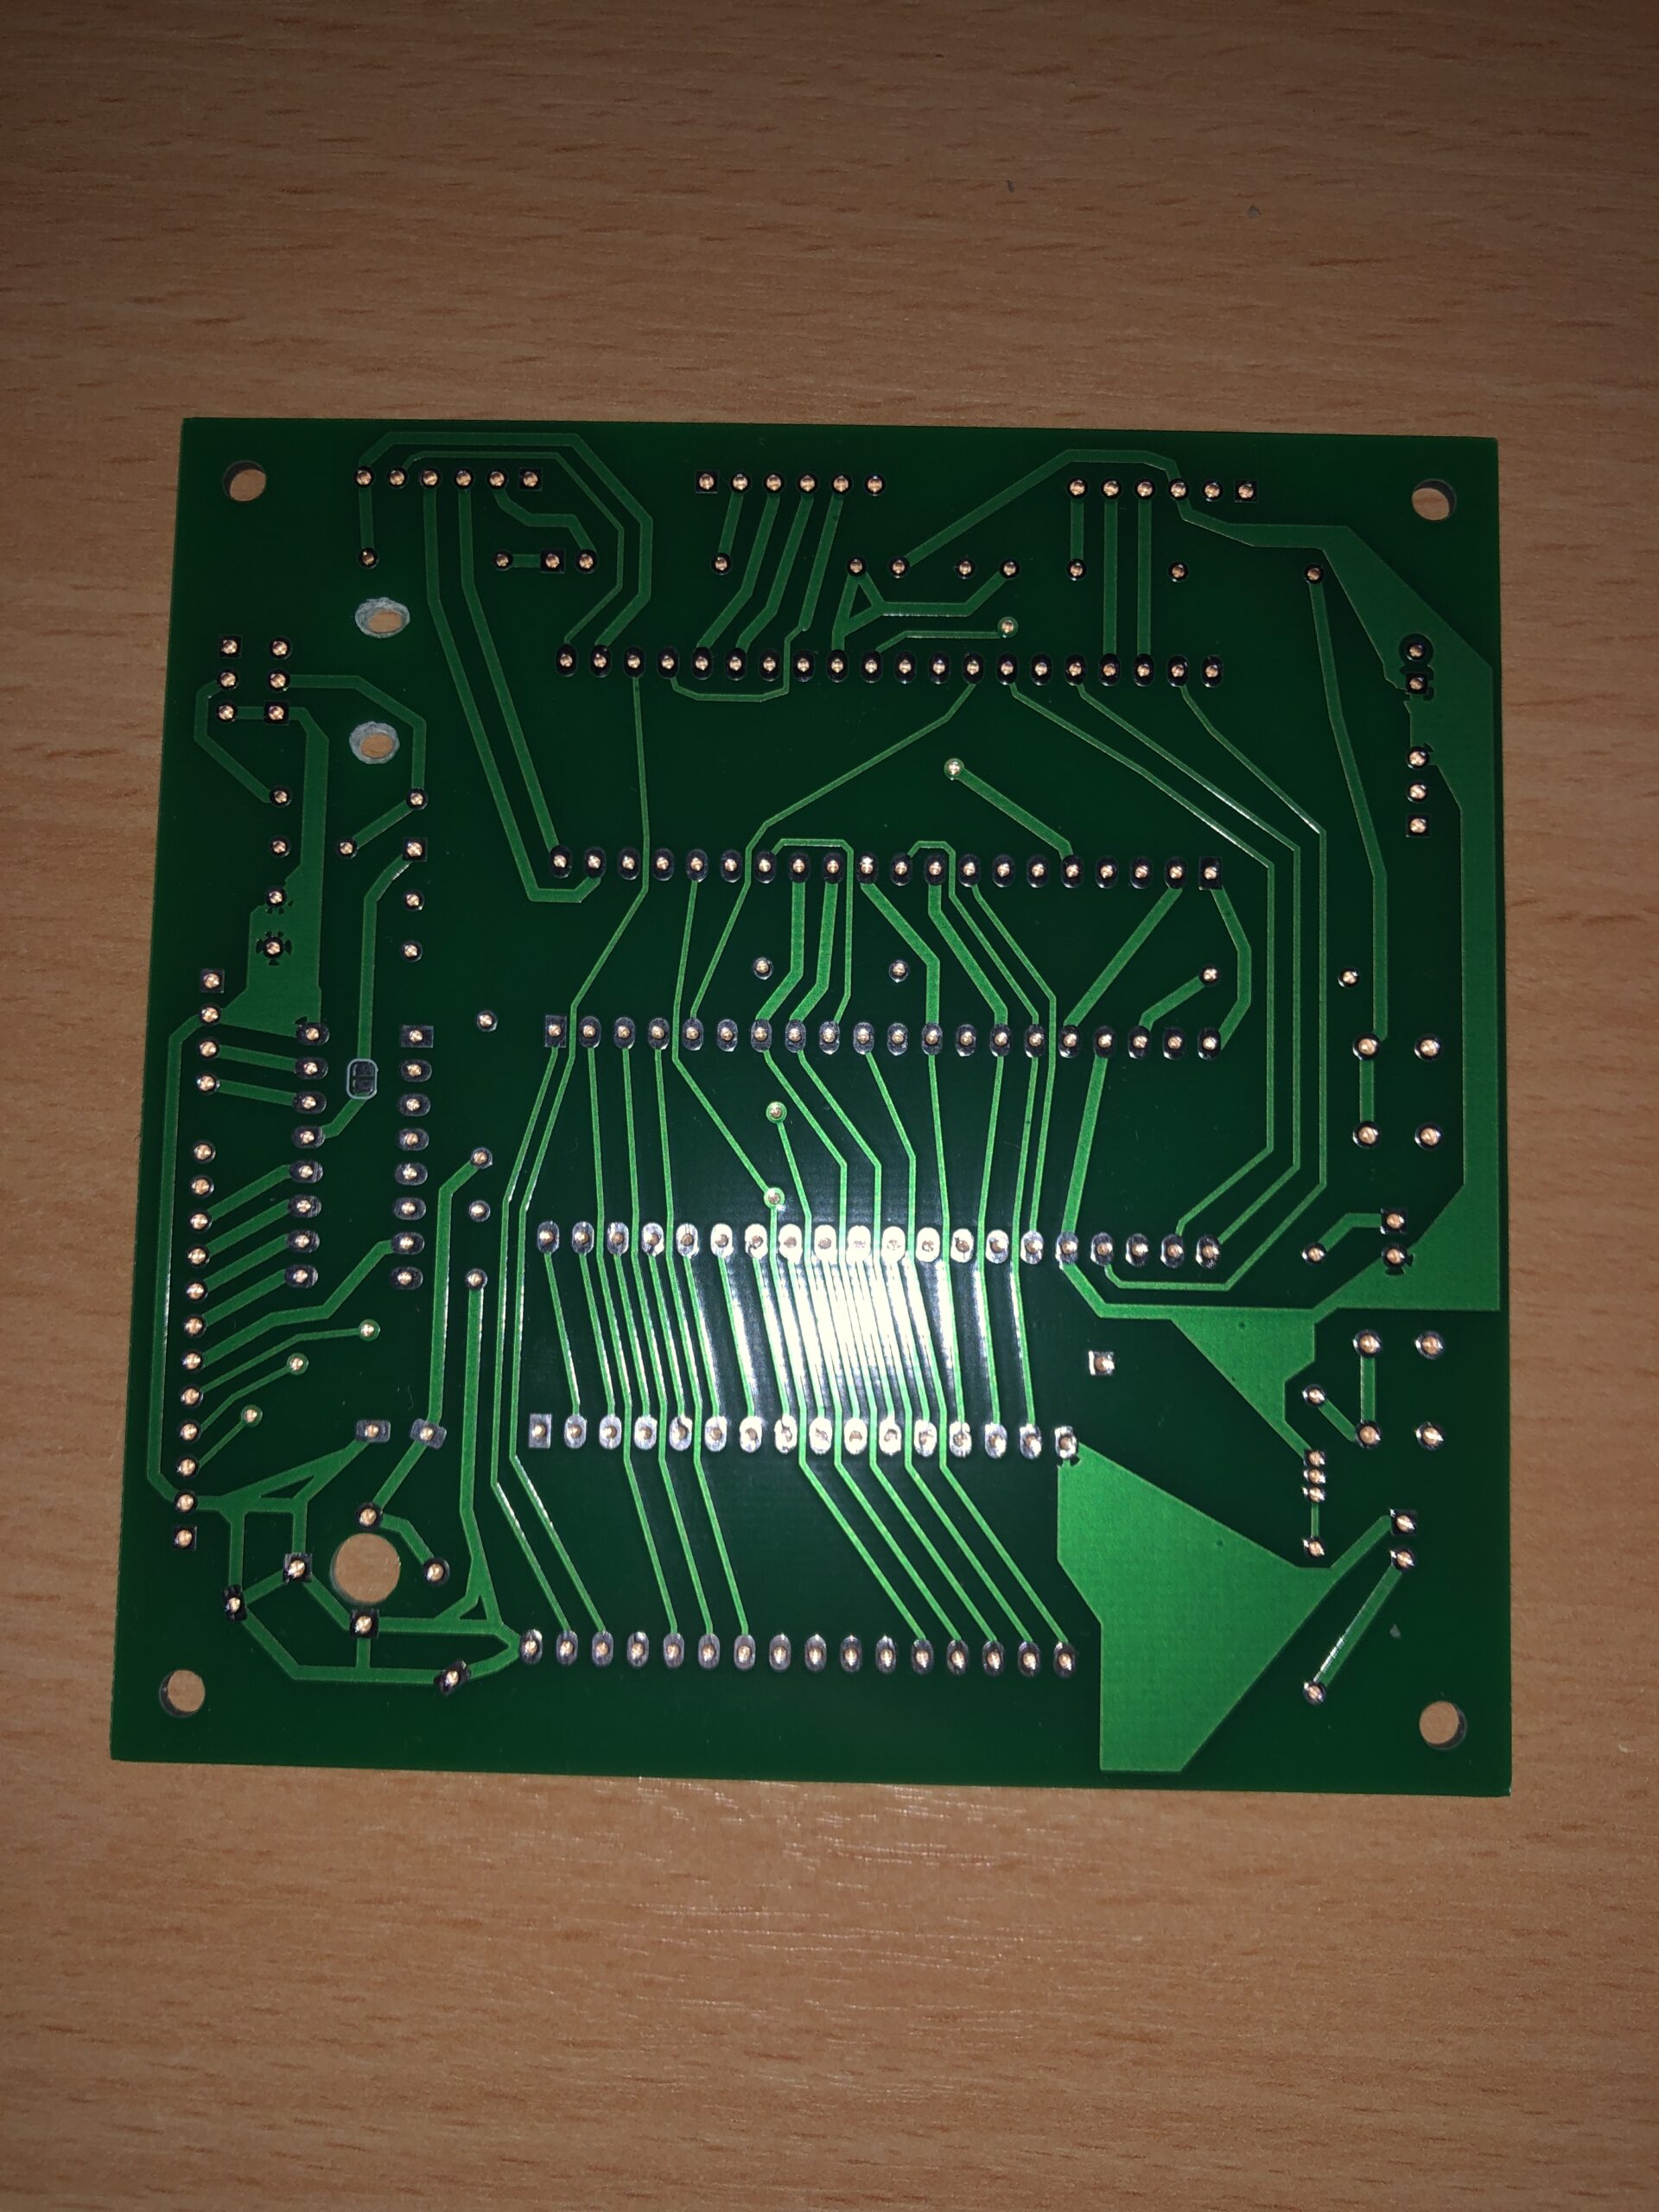
(So, you still need to solder all components to the board.)
They also have a facebook group: https://www.facebook.com/groups/z80mbc3
and, of course, also a github page: https://github.com/eprive/Z80-MBC3

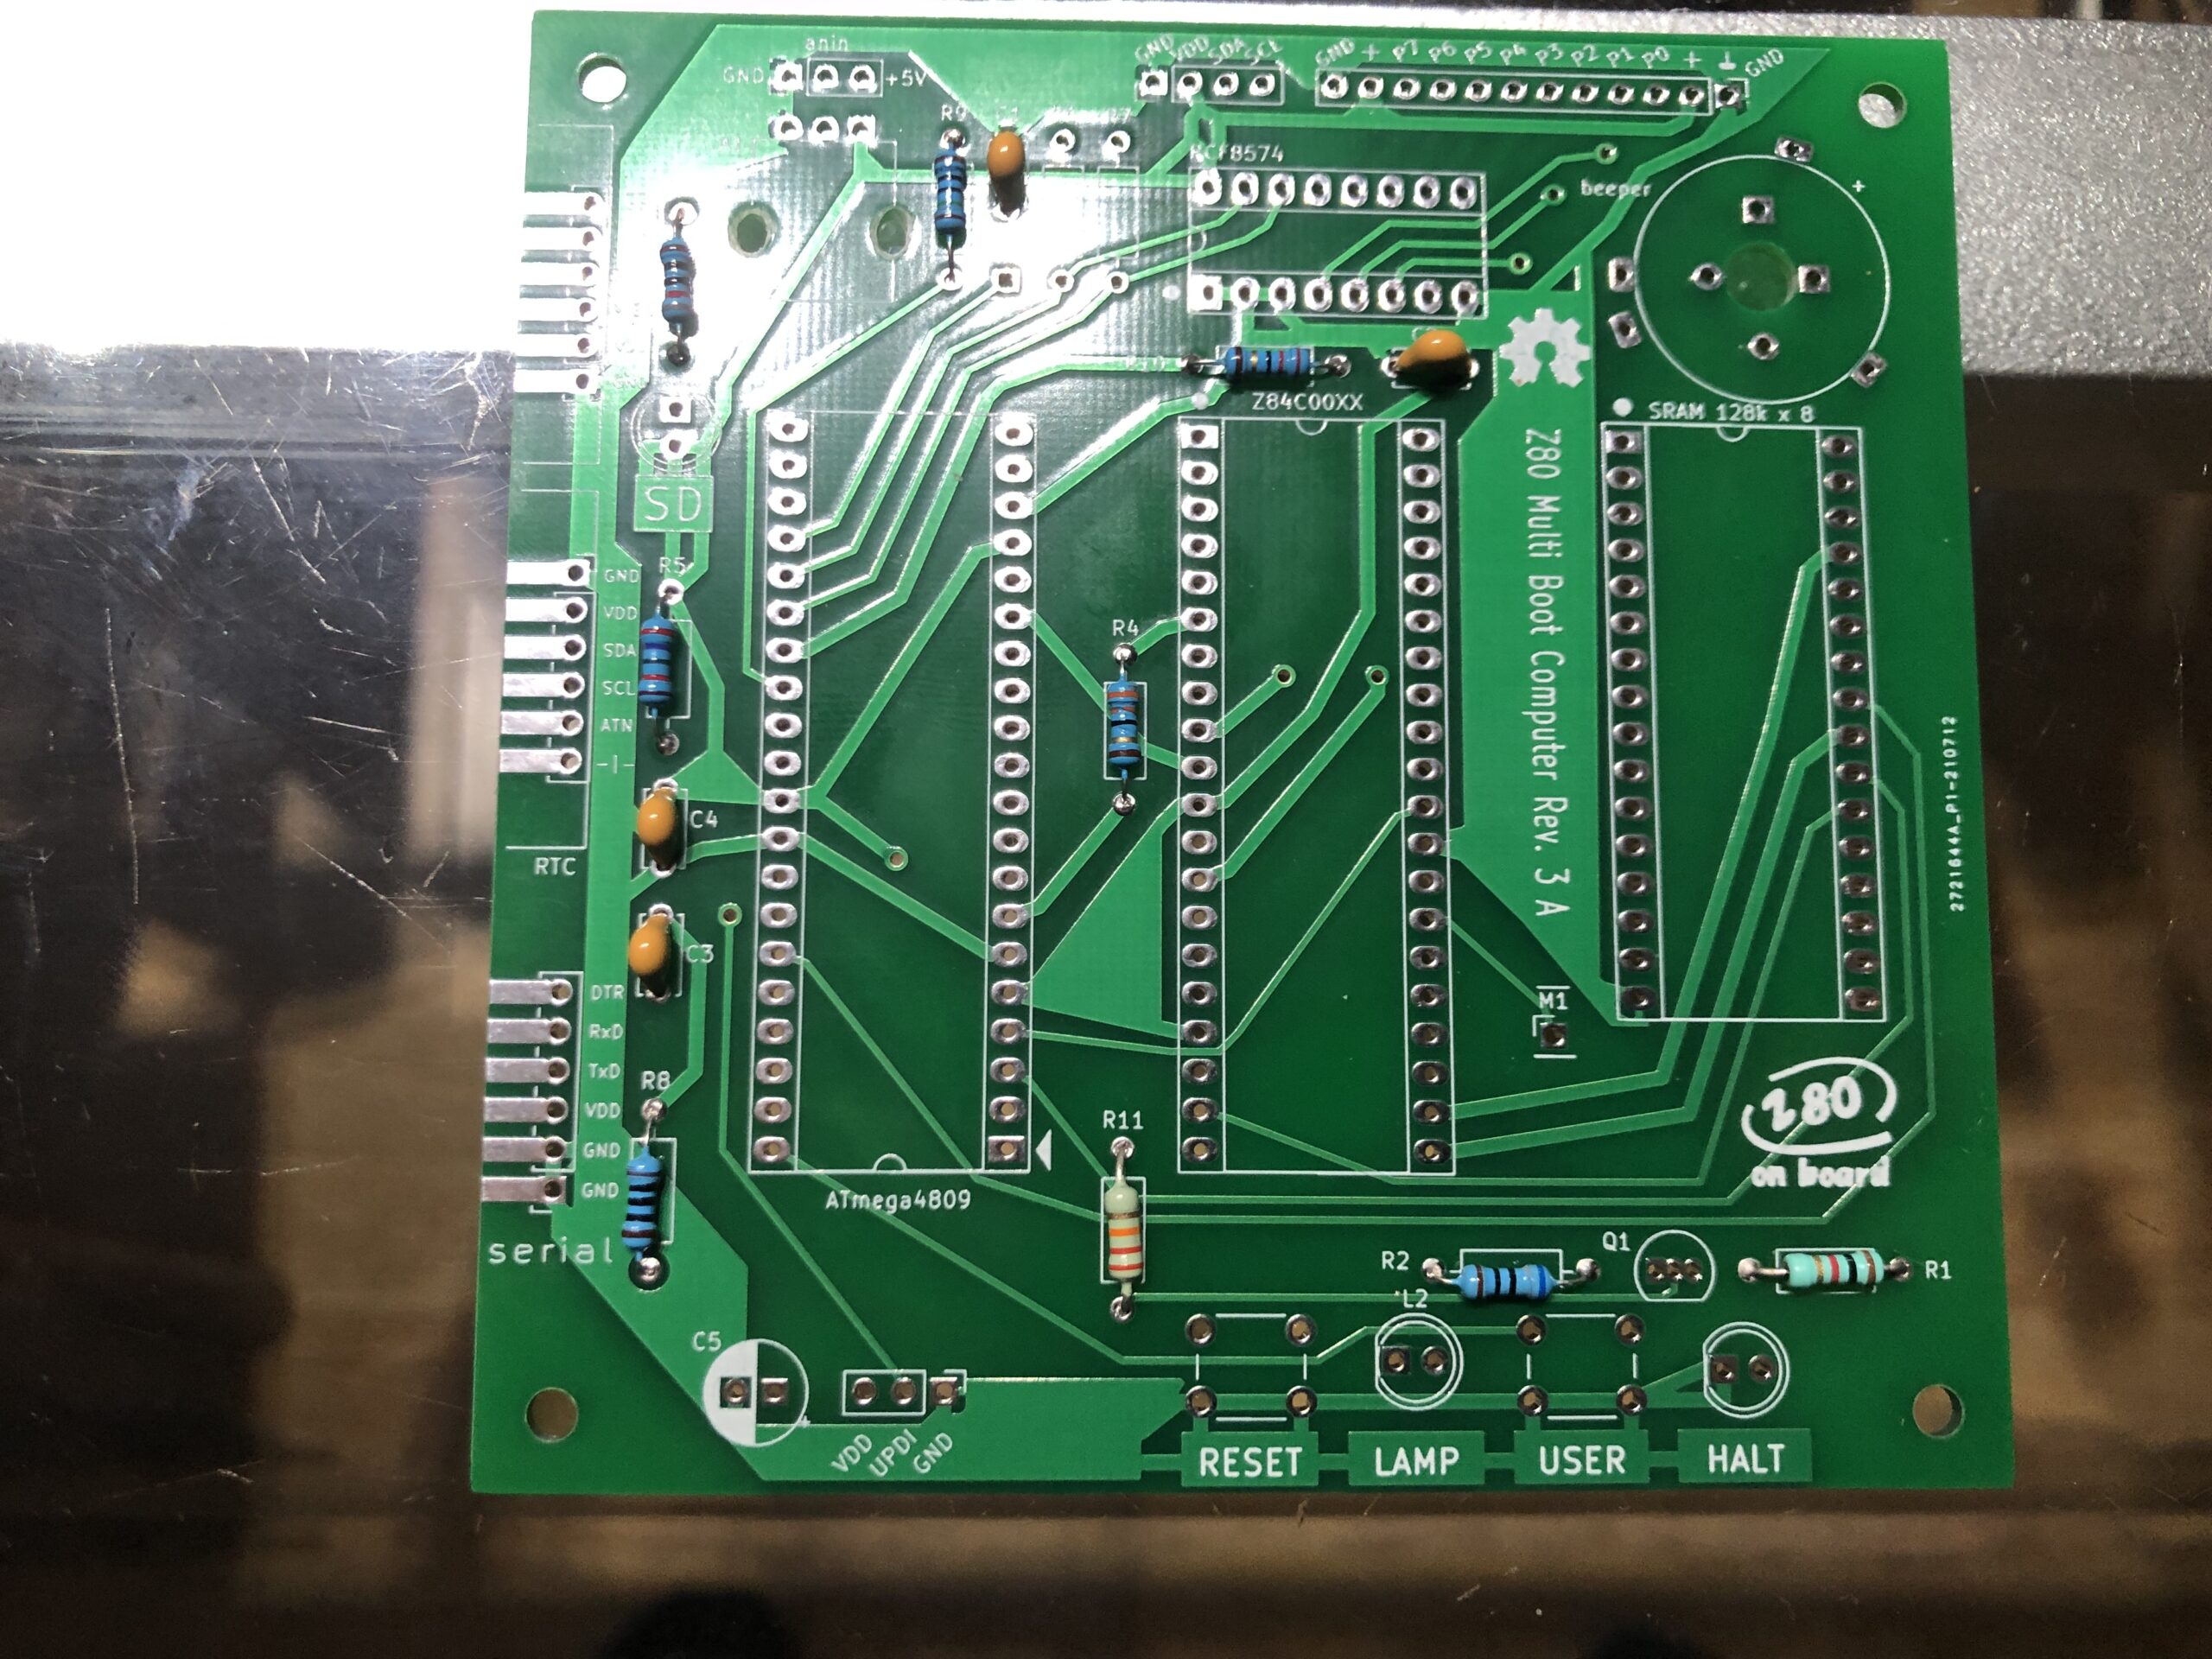
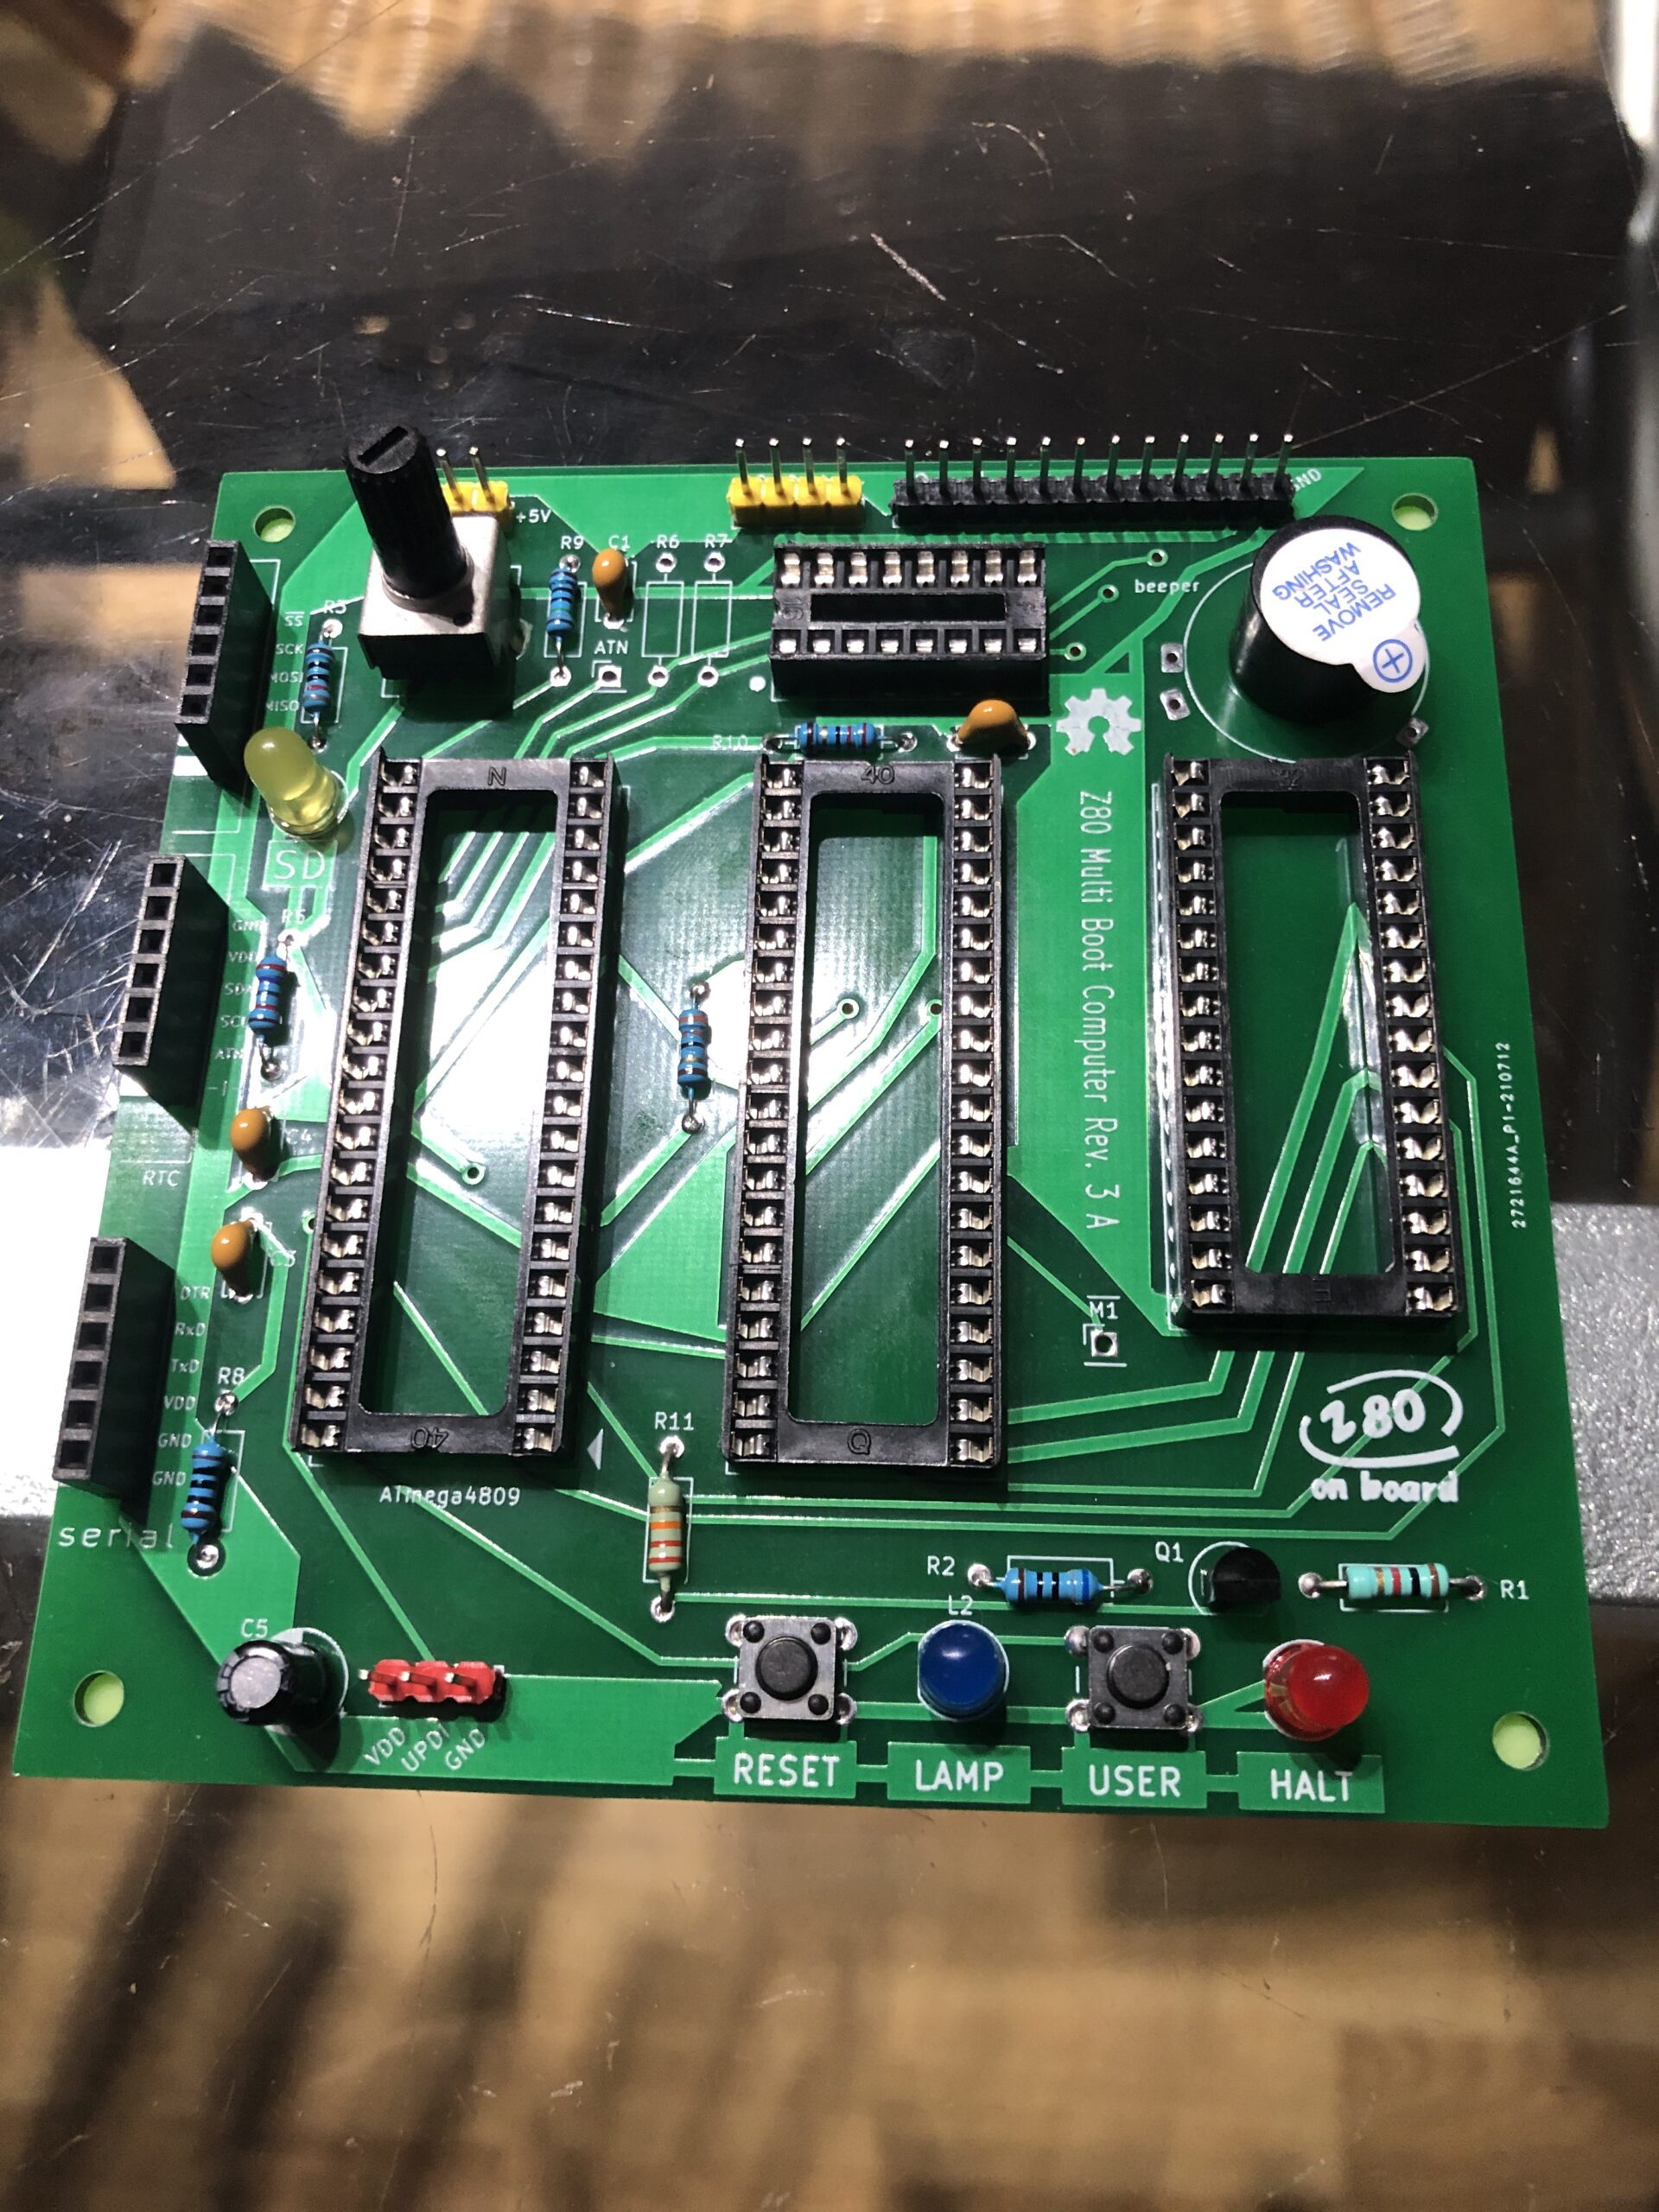
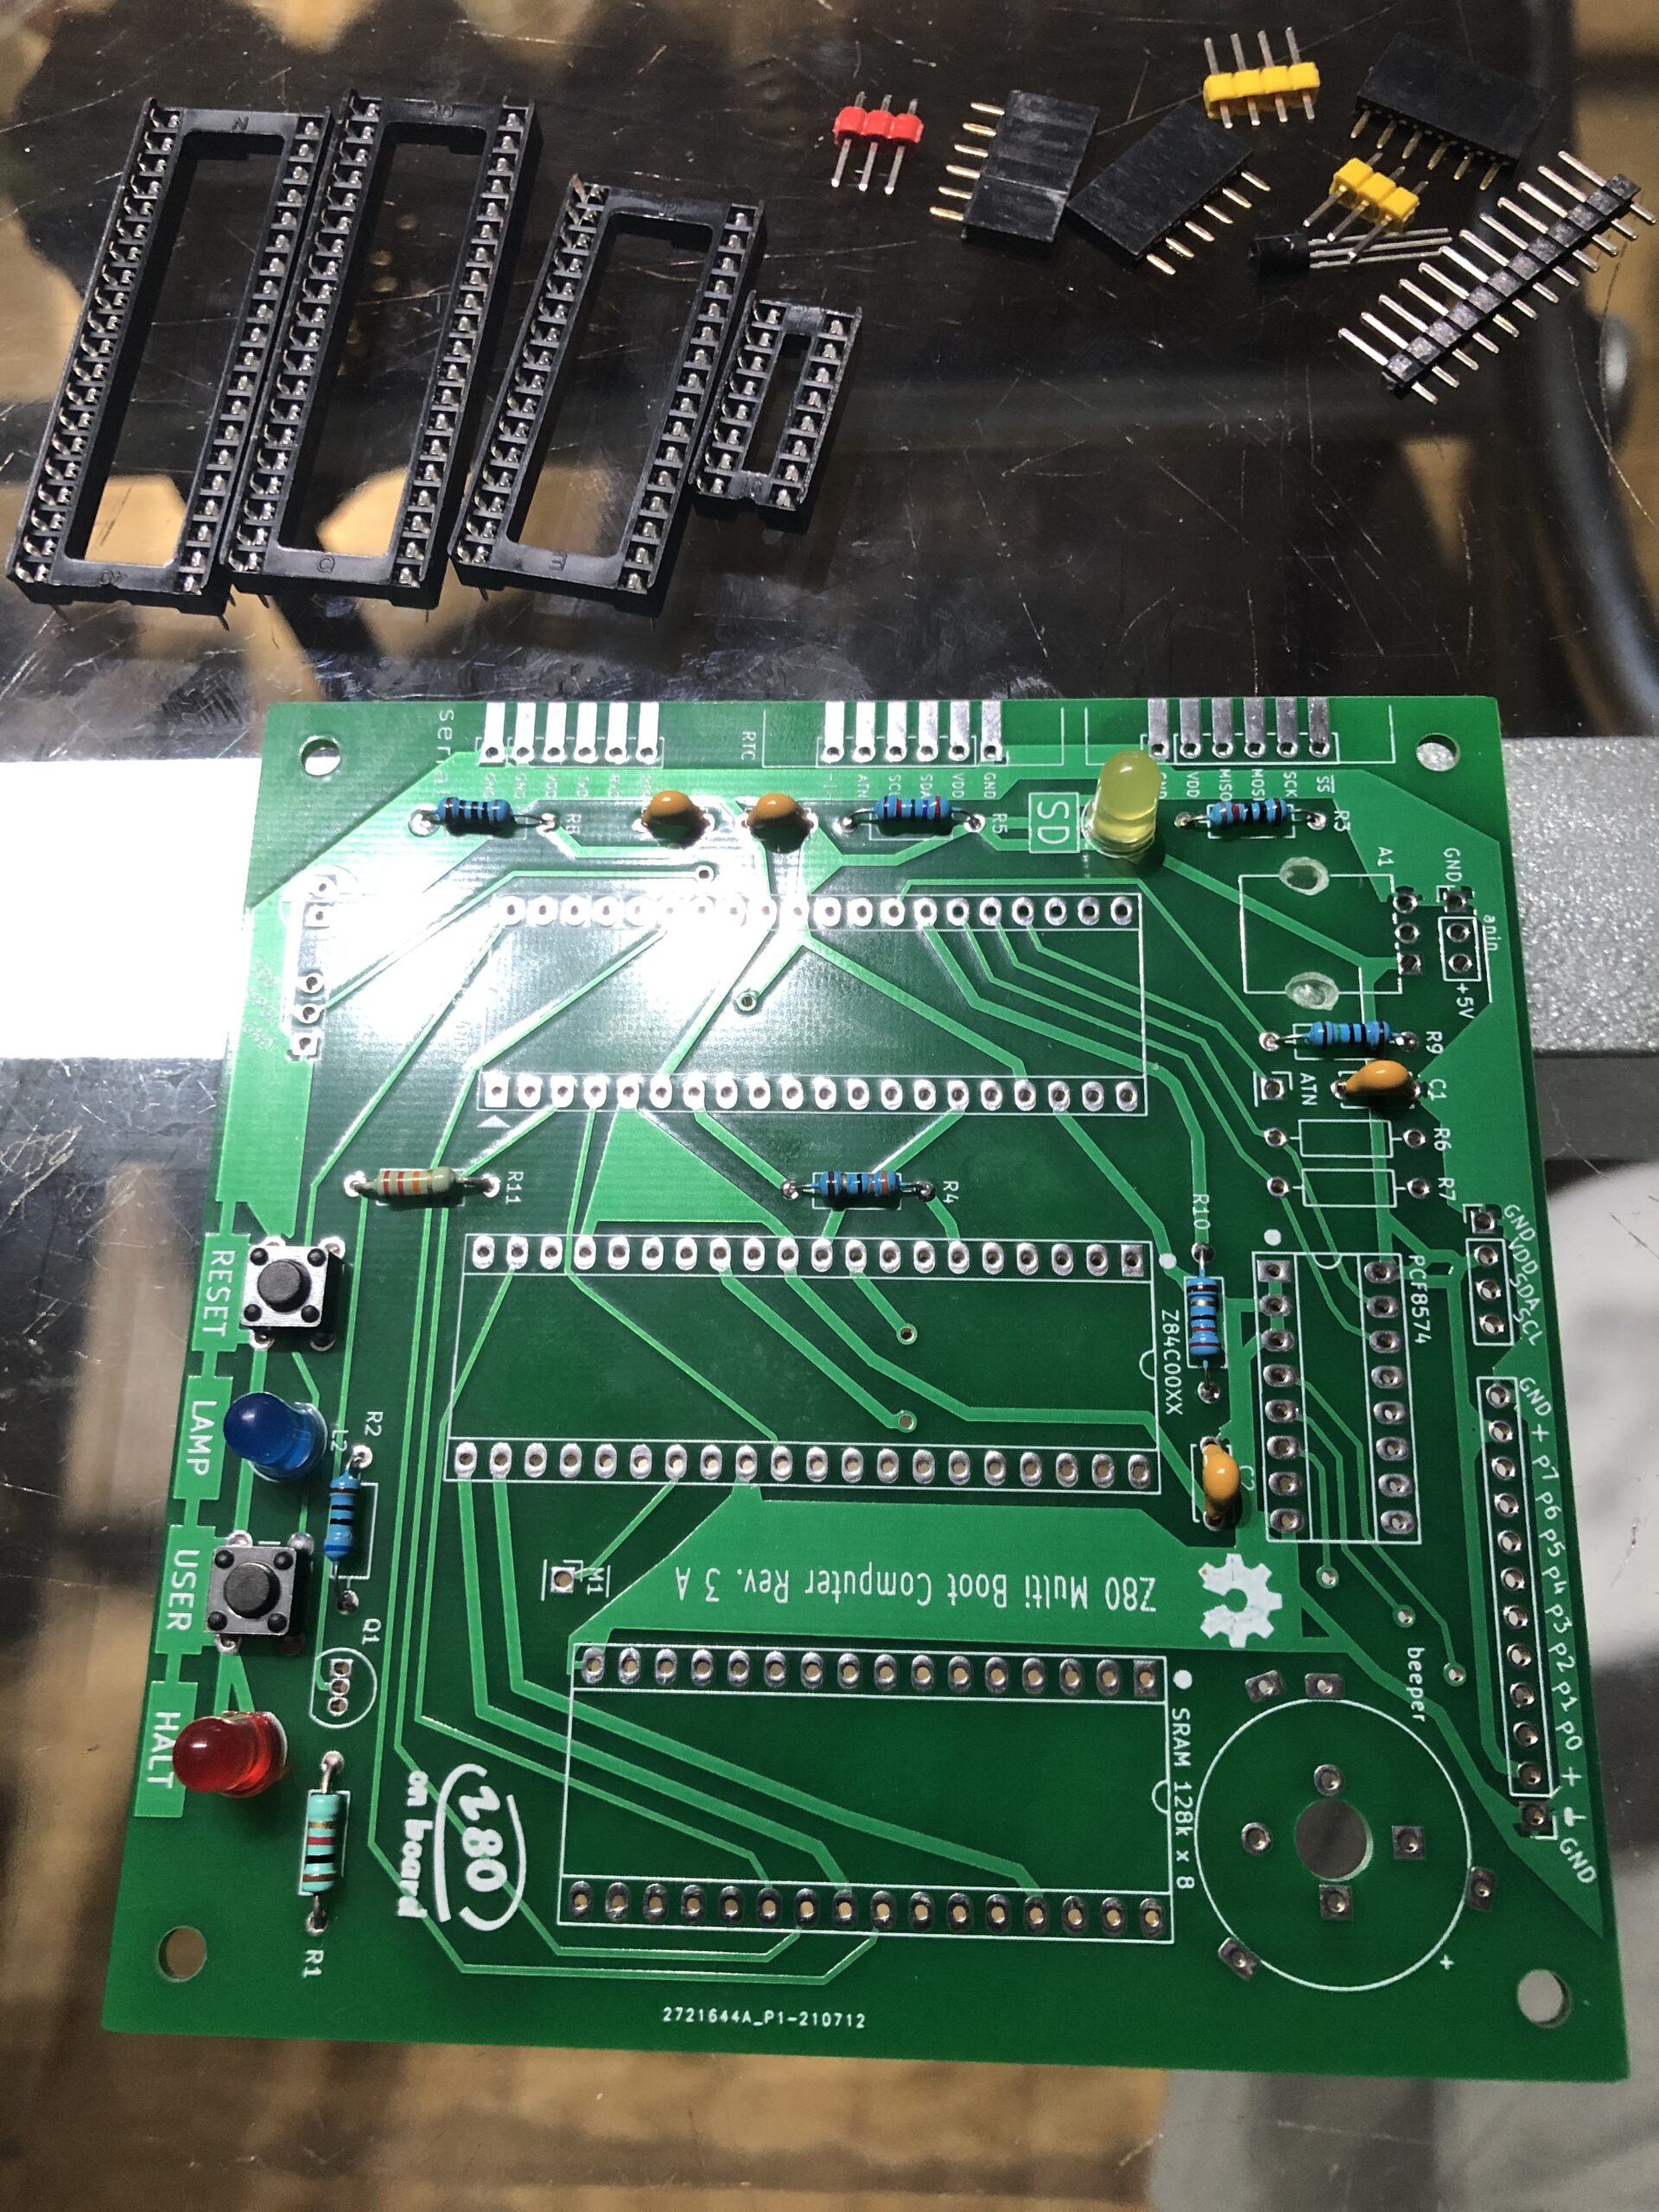
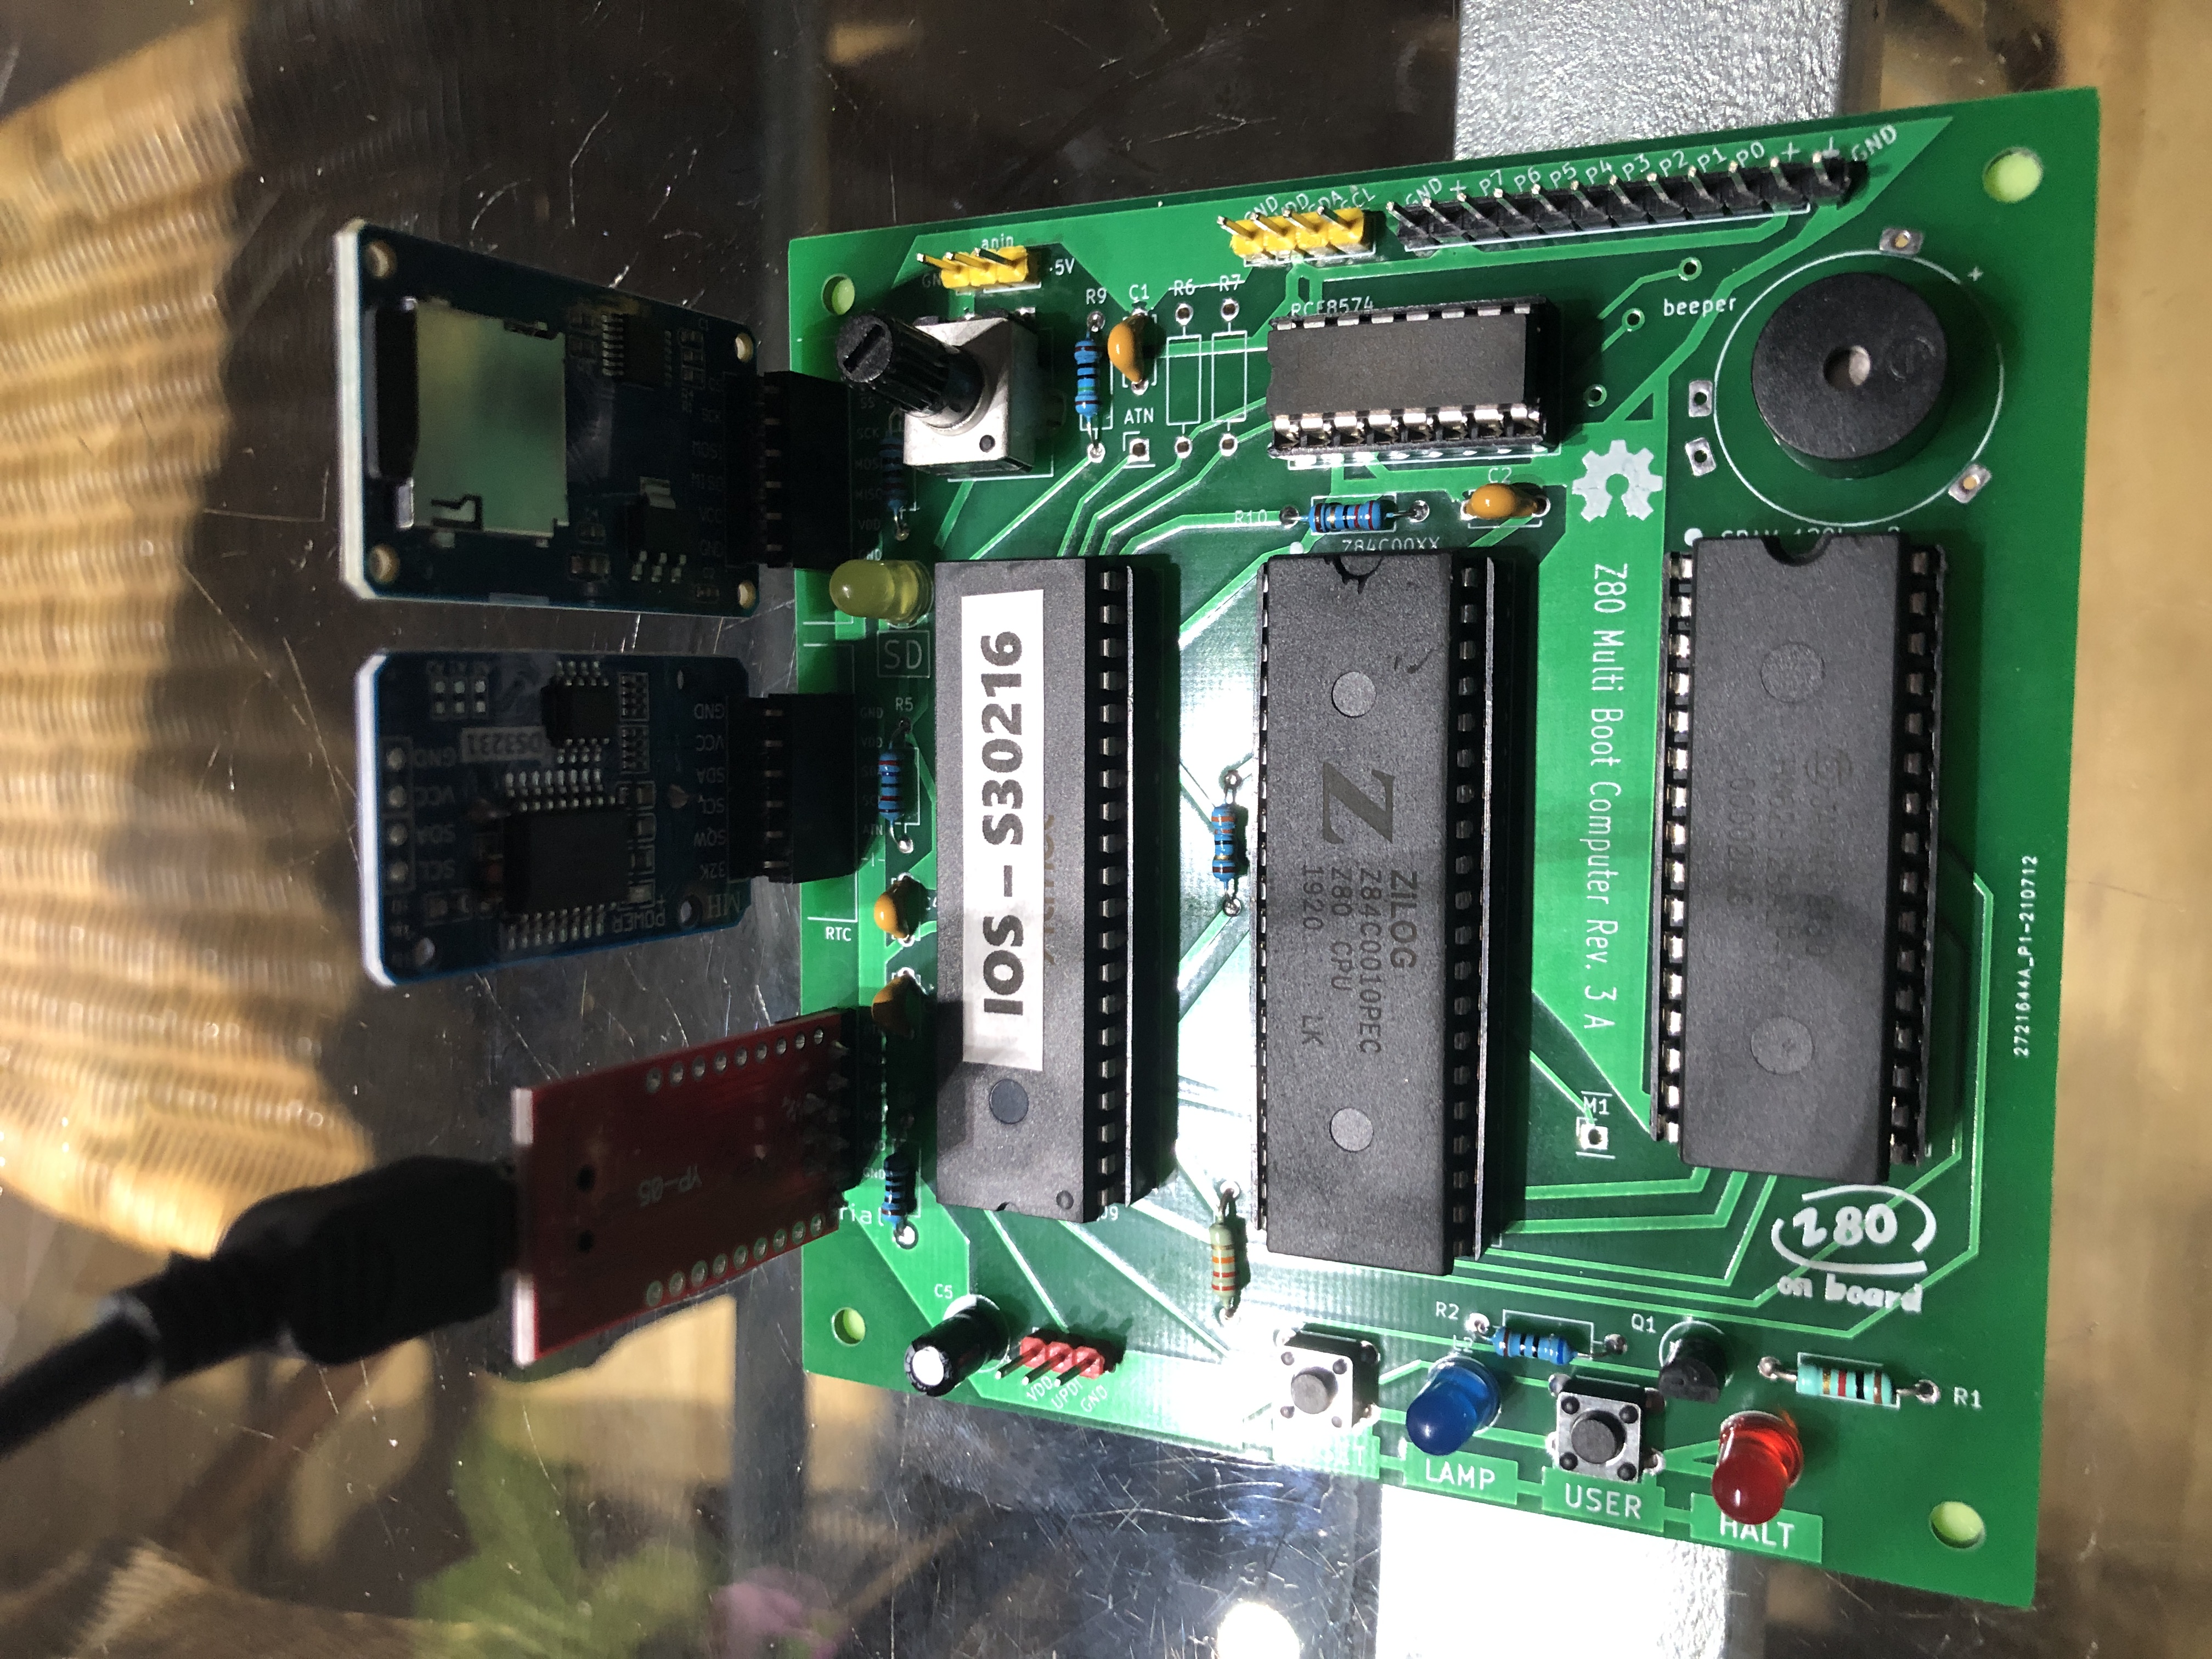
It’s actually a very “understandable” board: a Z80 (CPU) – a memory chip – an ATMega4809 (for the IO – SDCard and Serial output/input) and an PCF8574
(and I2C 8-bit I/O, to control your own hardware)
It’s actually a text-based machine (you connect it via a serial USB connection to a PC, and you use a (VT100) terminal application, to talk with the Z80 board.

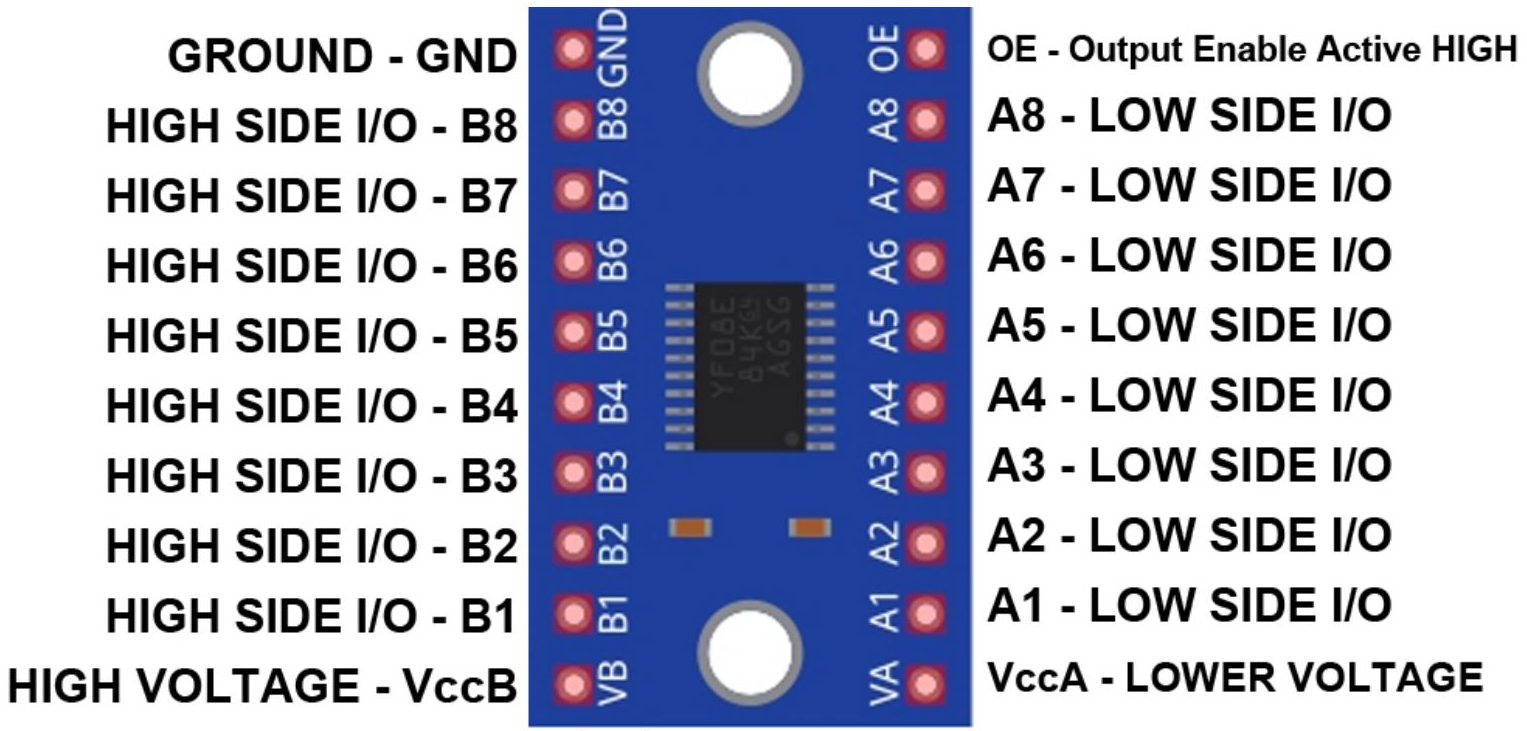
I did go a bit “further”, I used an ESP32 VGA module, so I can use it as a stand-alone machine, that can also do graphics ! Because the ESP32 VGA module is 3.3V and the Z80 board is 5V, I needed a level shifter. I used a TXS0108E, which is an 8-bit bi-directional level shifter. I currently only use 2 ports
(For the RX/TX connection between ESP32 VGA and Z80), but this gives me the possibility to also use the SCL and SDA pins from the I2C bus, at 3.3V
(and eventually, also use some pins of the PCF8574 at 3.3V)
– Take out the USB/Serial module
– Connect the RX/TX/GND of the Z80 board, to B1 and B2, GND of the TXS0108E.
– Connect the IO2/IO34/GND of the ESP32 VGA to A1,A2, GND of the TXS0108E.
– Connect 3.3V from ESP32 VGA to VccA of the TXS0108E.
– Connect GND from ESP32 VGA to GND of the TXS0108E.
– Connect 5V from the Z80 board to VccB of the TXS0108E.
– Connect GND from the Z80 board to GND of the TXS0108E.
– Put a 10K resistor between VccA and OE of the TXS0108E.
Furthermore, you will need the Arduino IDE.
– Install ESP32 via board manager (Put https://dl.espressif.com/dl/package_esp32_index.json in File=>Preferences=>Additional Board Manager URLs)
– Install FabGL (1.0.8, no other version !) library
– Choose “ESP32 Dev Module” as the board.
– Open File=>Examples=>FabGL=>VGA=>AnsiTerminal
– Flash this project to the ESP32 VGA (via USB cable)
After this, you will be able to use the the Z80 with a VGA screen and PS/2 mouse & keyboard.
(I use a VGA2HDMI converter, works fine on my 49″ 4K computer screen)
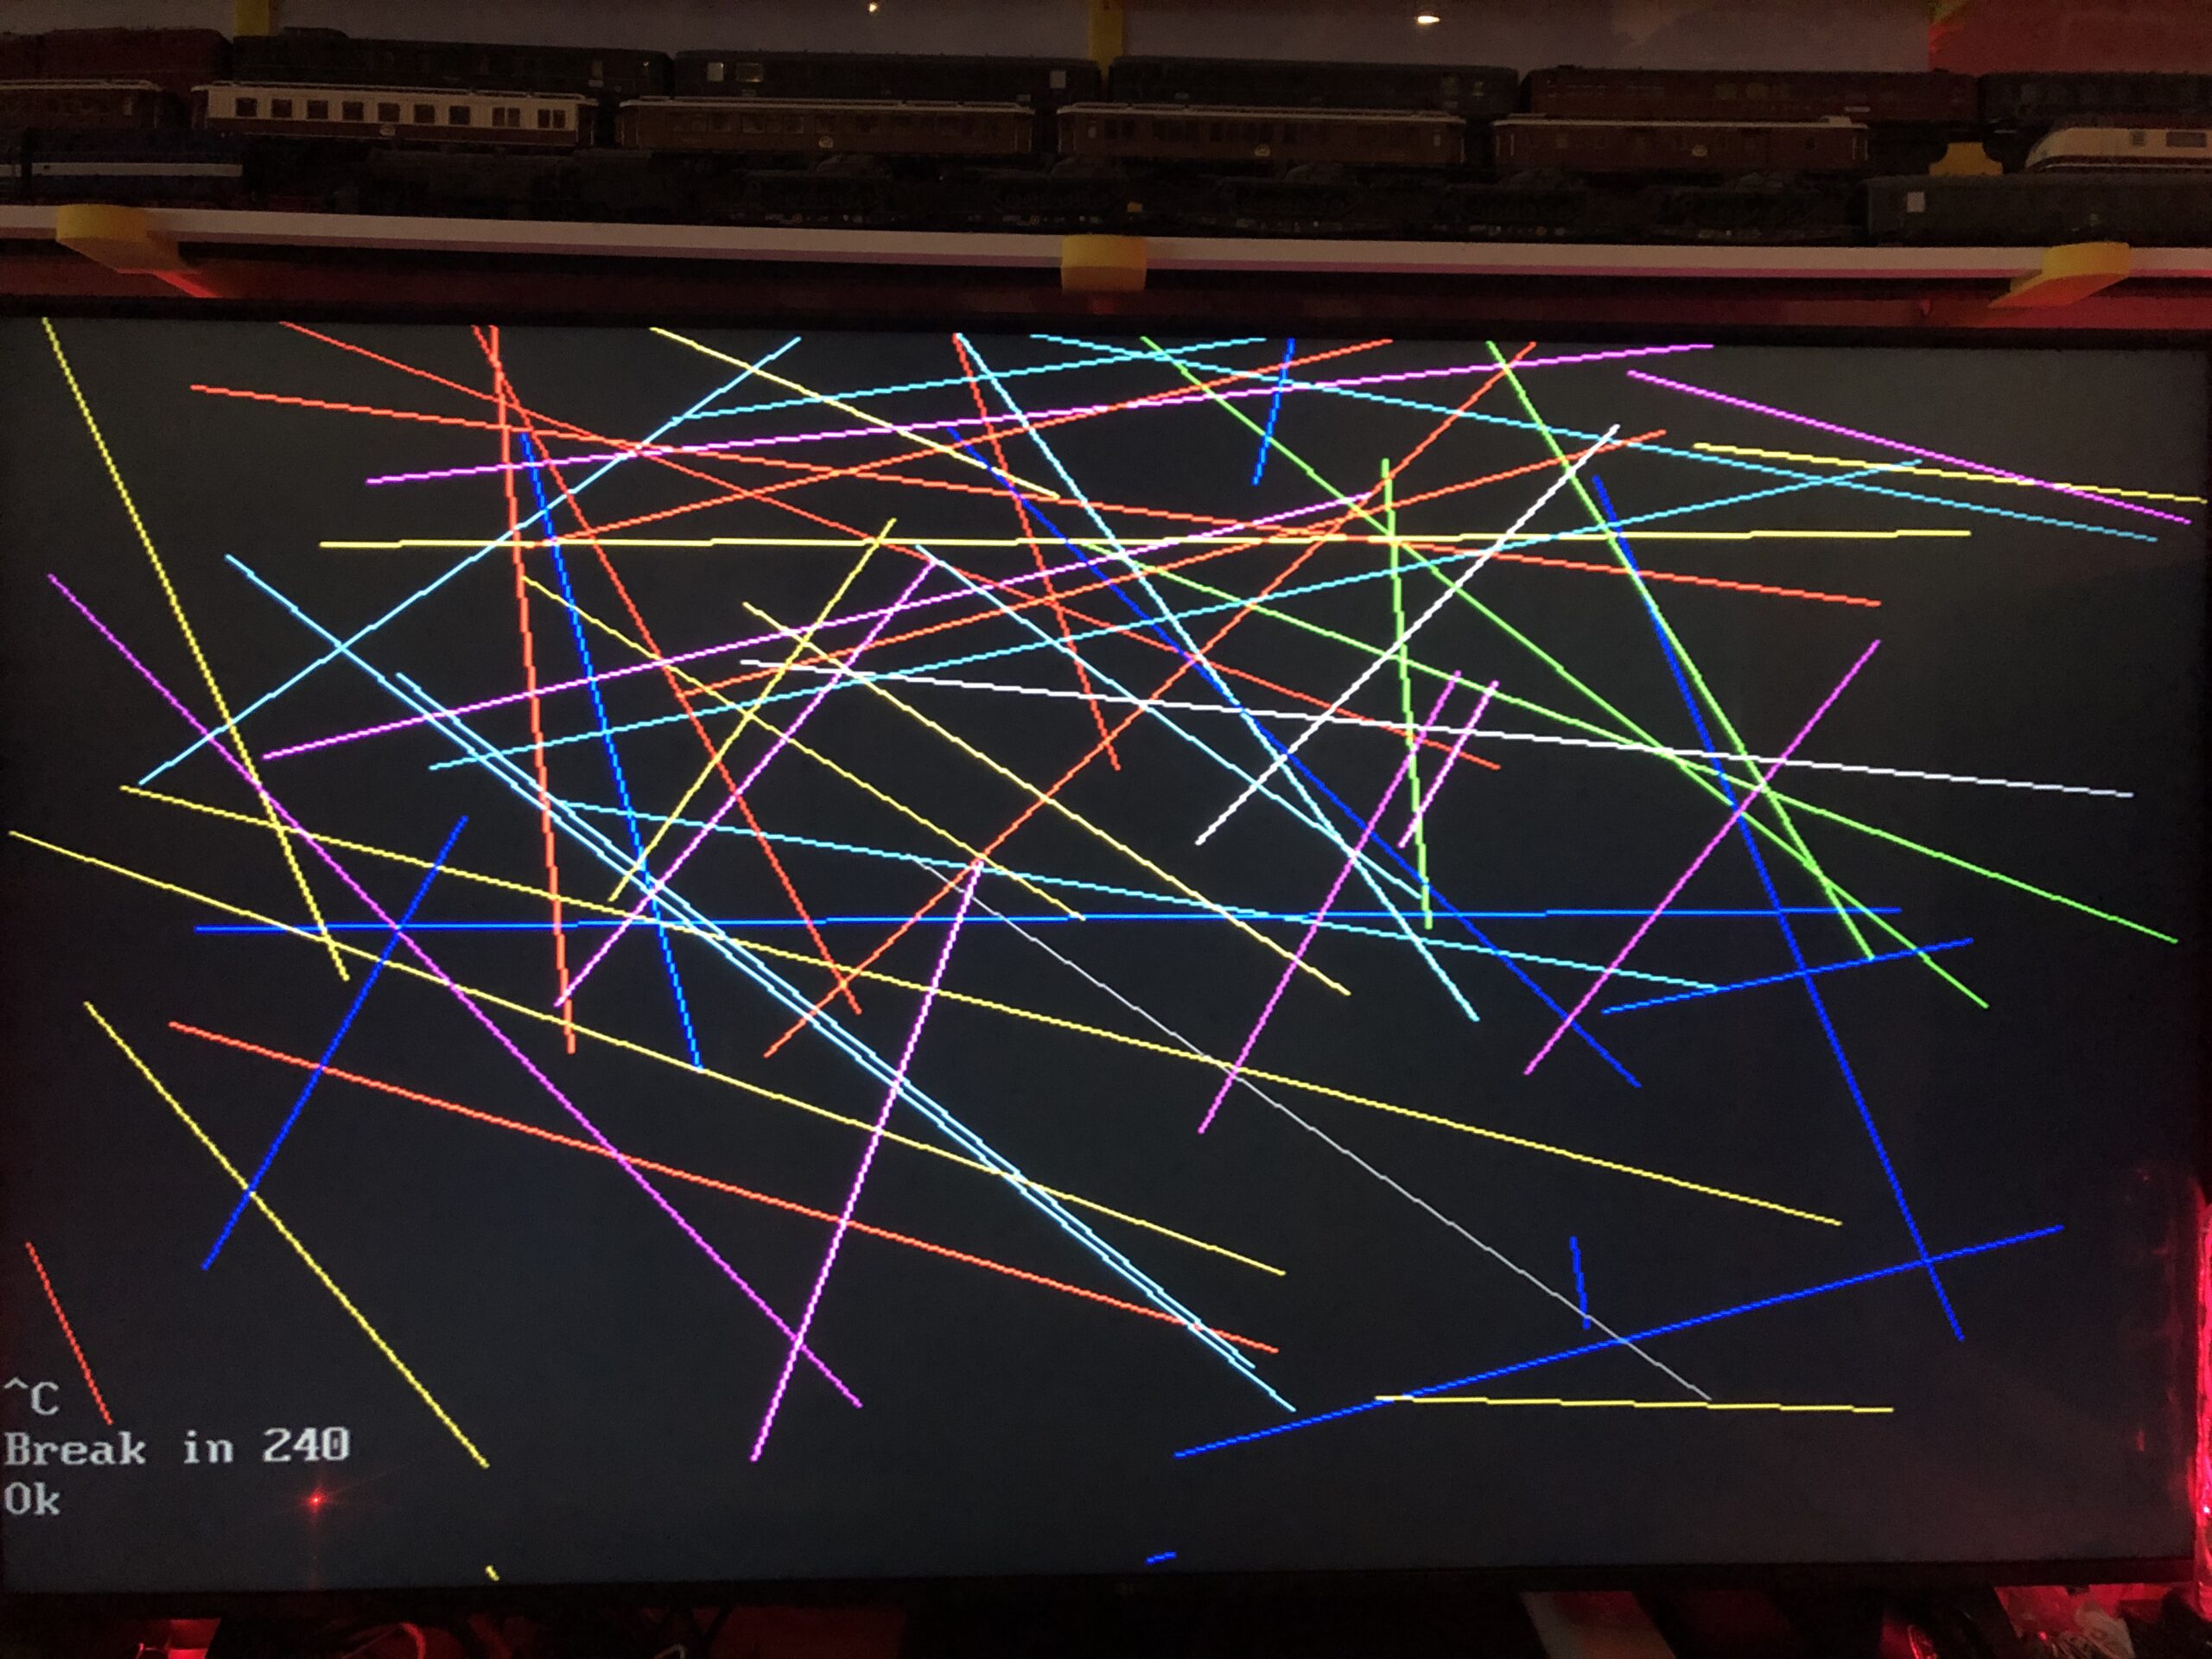
I also did some testing with the PCF8574 and the POT-meter. (With Mbasic, that is on the first CP/M drive)
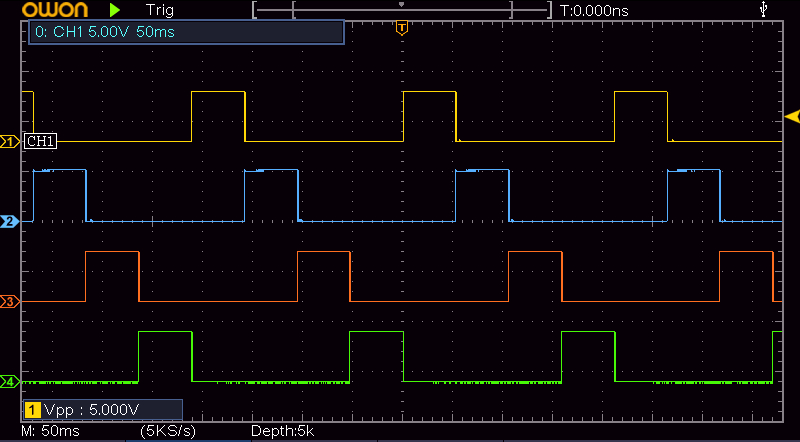
I connected my 4-channel scope, and you can see the result in picture 2, of the code that is shown in picture 1.
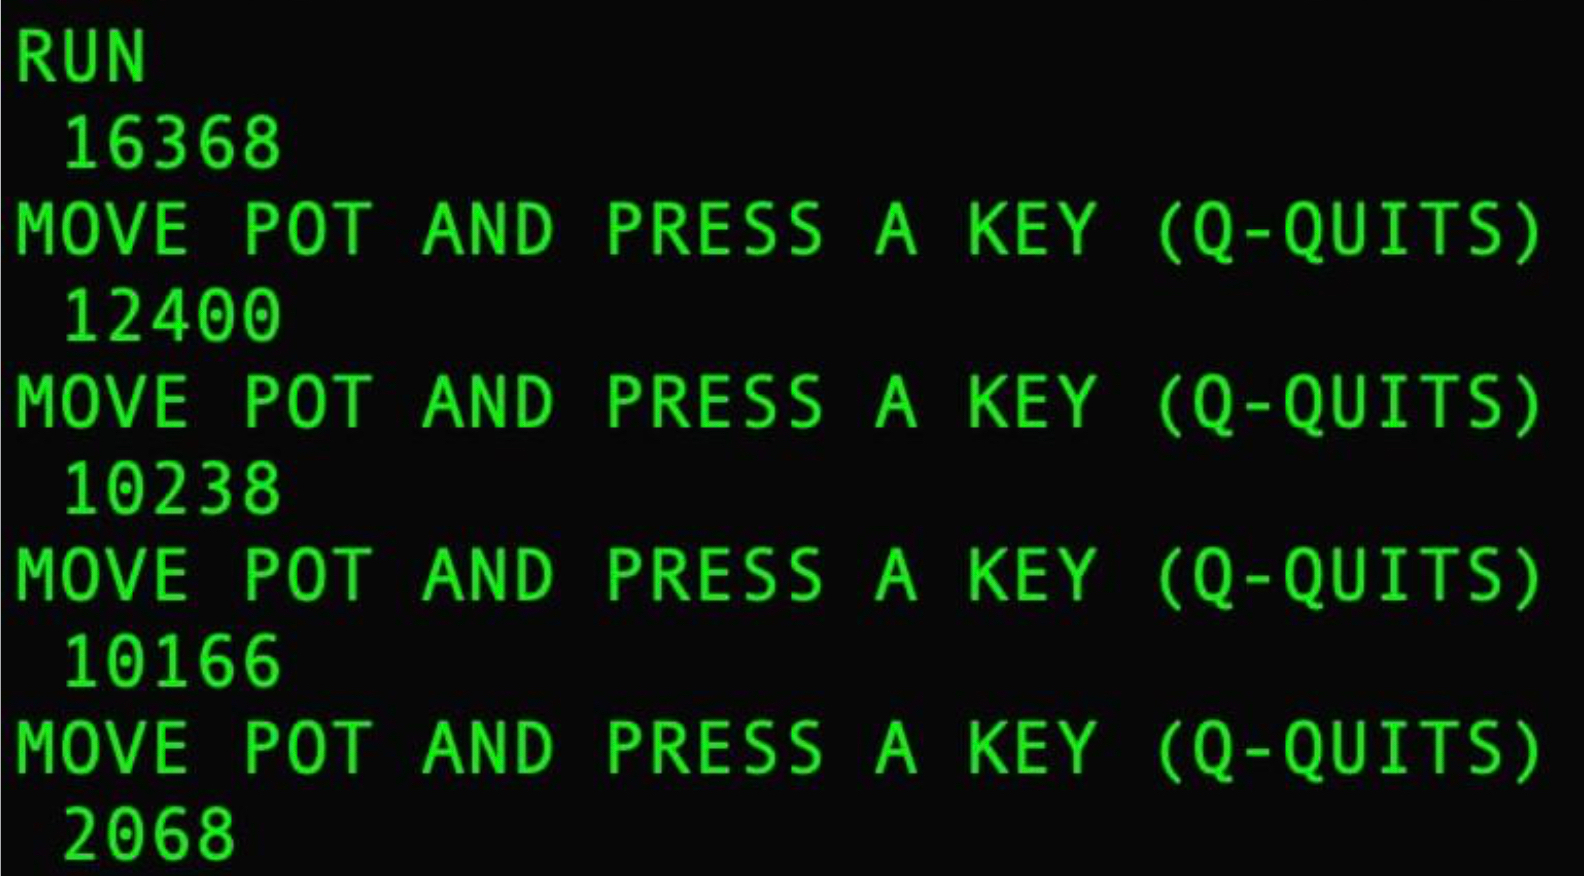
In Picture 3 you can see the result of the pot-meter, that is read via the next code:
10 OUT 1,136
20 I=INP(0)*256+INT(0)
30 PRINT I
40 PRINT"MOVE POT AND PRESS A KEY (Q-QUITS)"
50 K$=INKEY$
60 IF K$="" THEN GOTO 50
70 IF K$<>"Q" THEN GOTO 10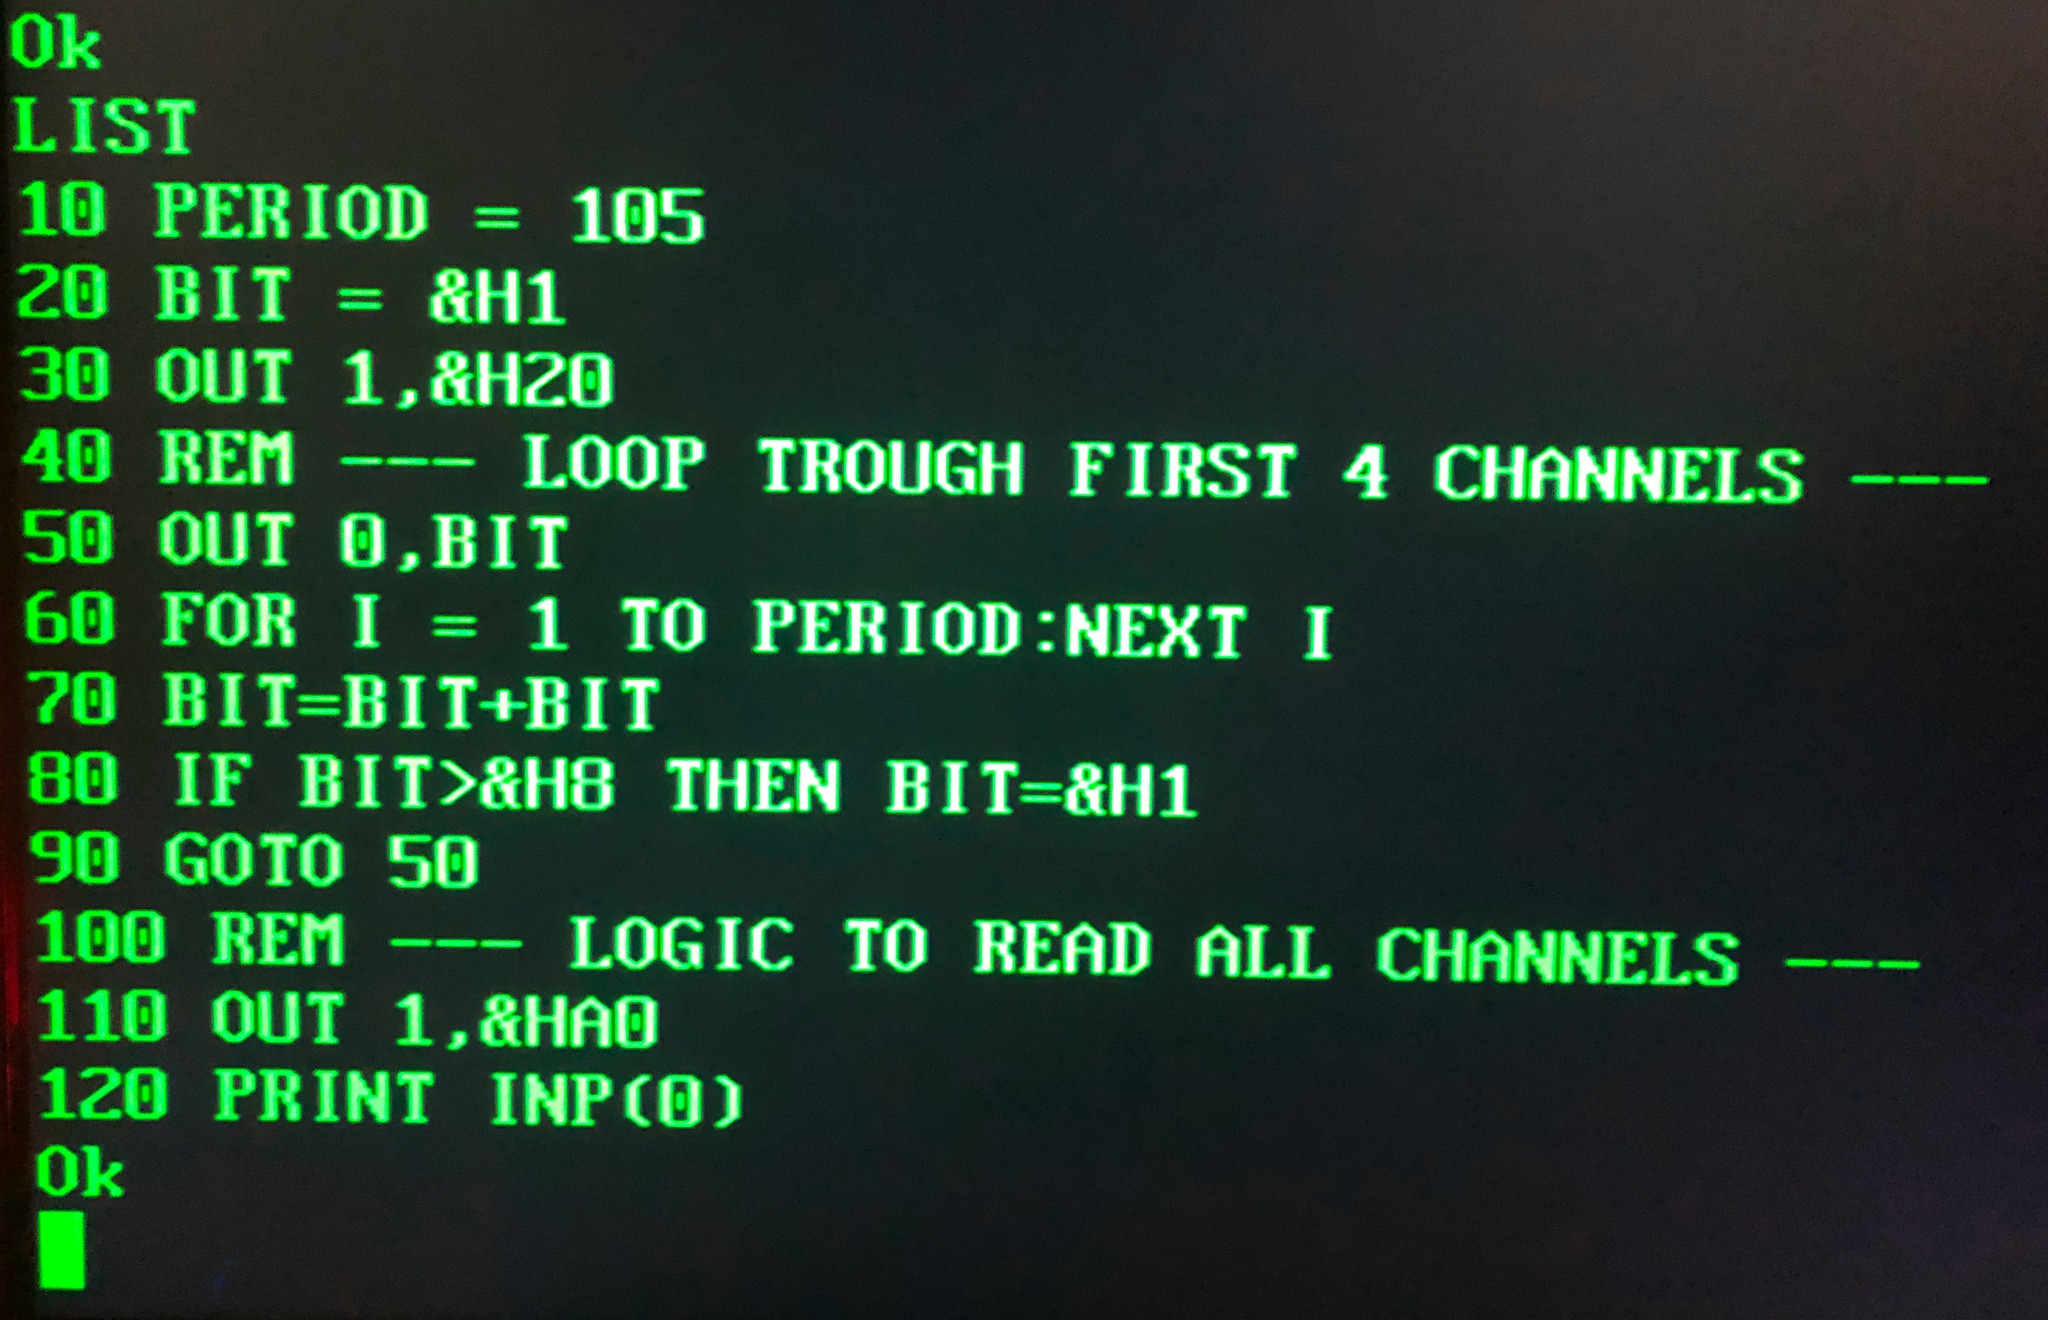
Conclusion: This is a fantastic product for an affordable price !
And because it’s easy to communicate with external devices, I’m sure I will find a way to incorporate this into my Home Assistant !
Chears to Willem Vrieze 🙂