With the DVI Stock and the Pimoroni DV Demo Base, you can send a DVI signal (over HDMI connection) to a connected screen, with a RPI Pico (W)
This is perfectly possible with the Arduino IDE.
– First, add the Pico boards via Files => Preferences => Additional Boards manager URLs, by adding the following URL: https://github.com/earlephilhower/arduino-pico/releases/download/global/package_rp2040_index.json
– Next, select Tools => Board Manager, and select Raspberry Pi Pico / RP2040
– After this, select Tools => Manage Libraries and add PicoDVI – Adafruit fork
– In the demo codes, you need to set DVIGFX16 display(DVI_RES_320x240p60, adafruit_feather_dvi_cfg); to the correct configuration:
* adafruit_feather_dvi_cfg = Adafruit Feather
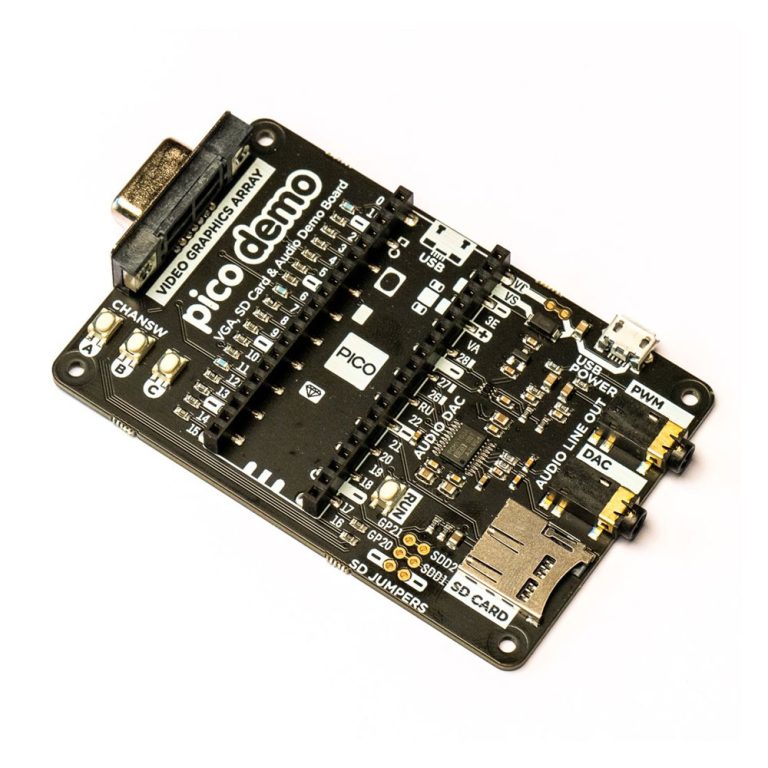
* pimoroni_demo_hdmi_cfg = Pimoroni DV Demo Base
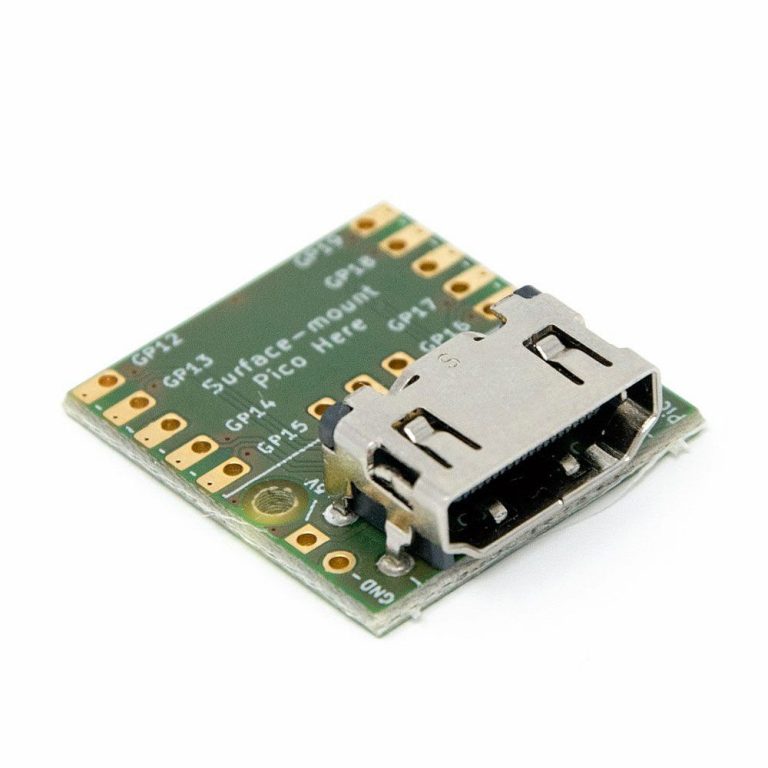
* pico_sock_cfg = DVI Sock
Also check out: https://github.com/adafruit/PicoDVI